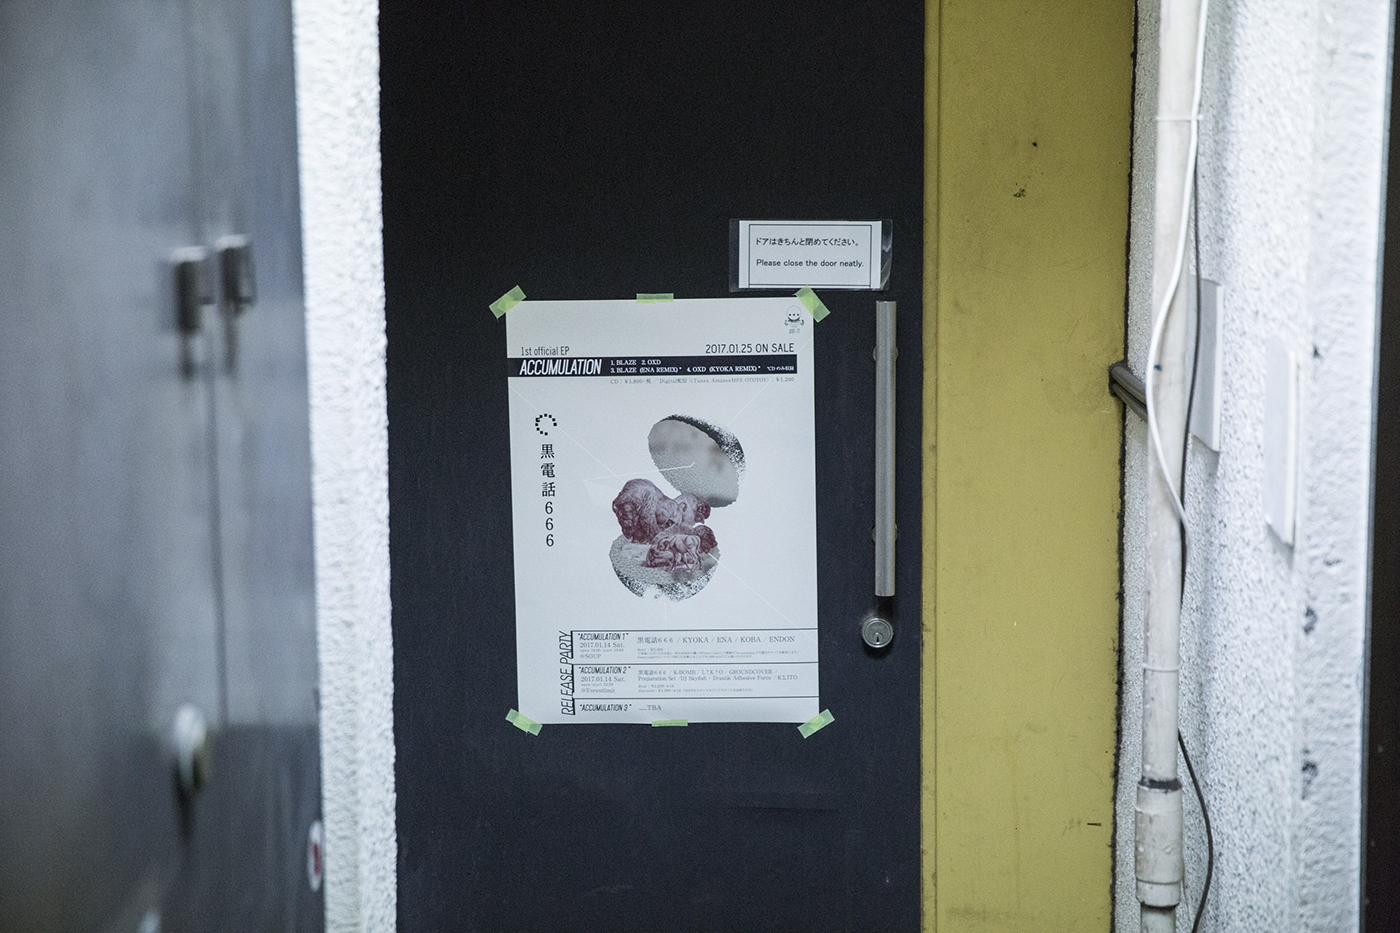
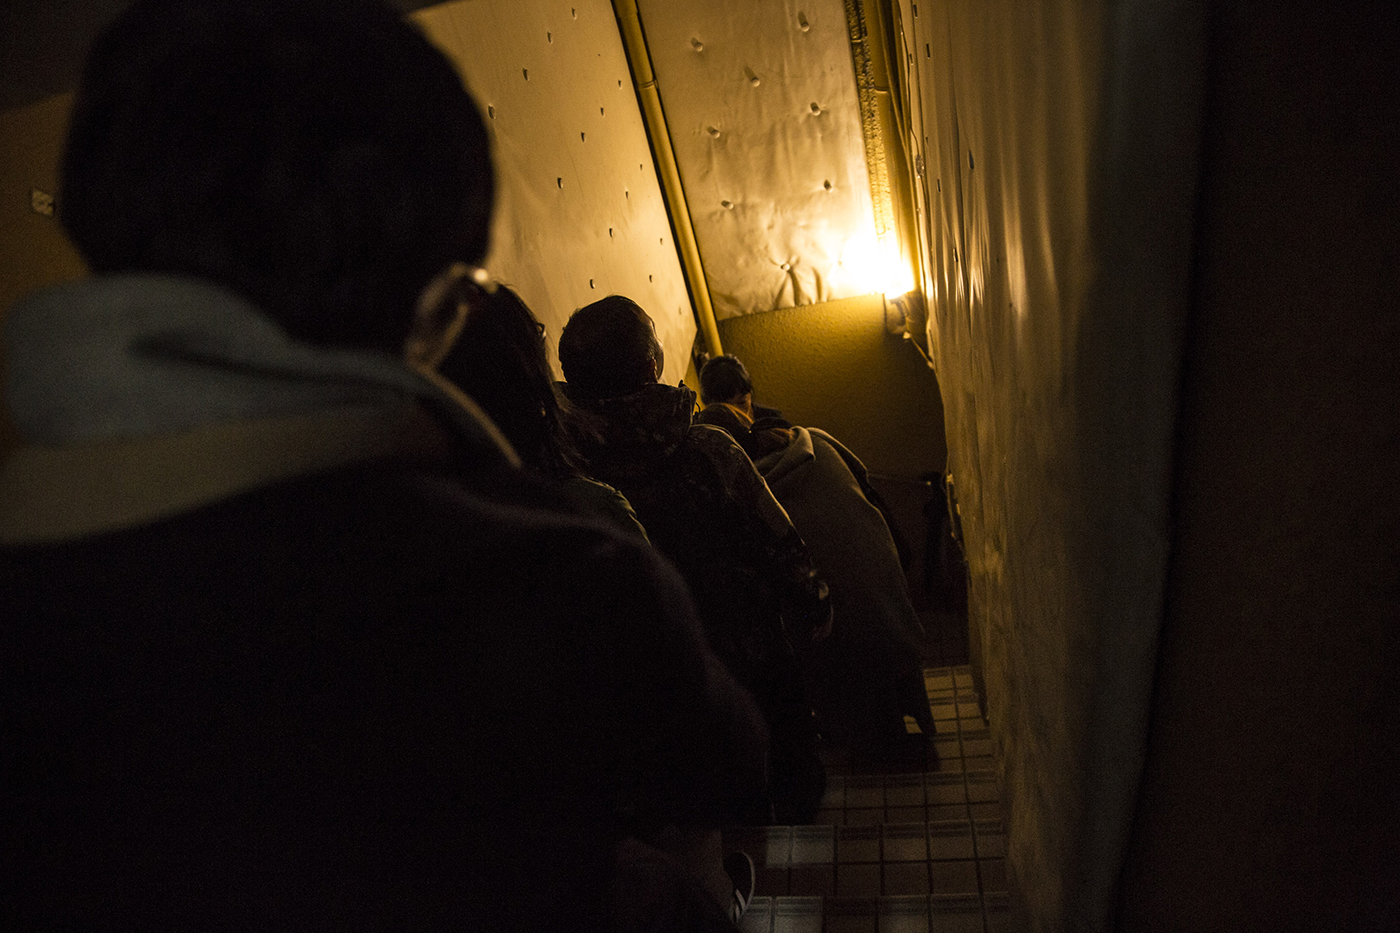
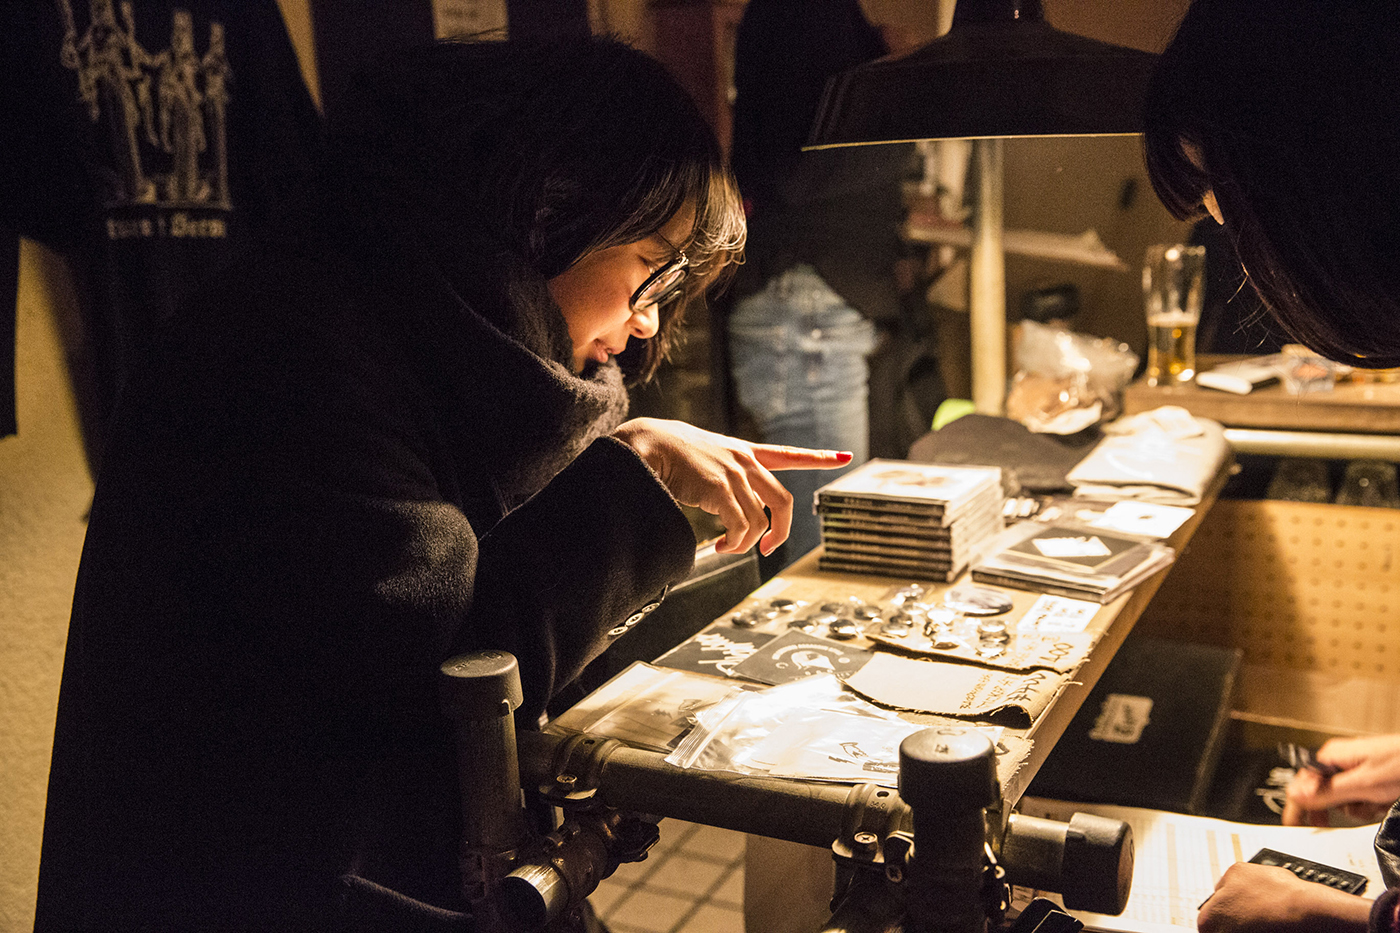
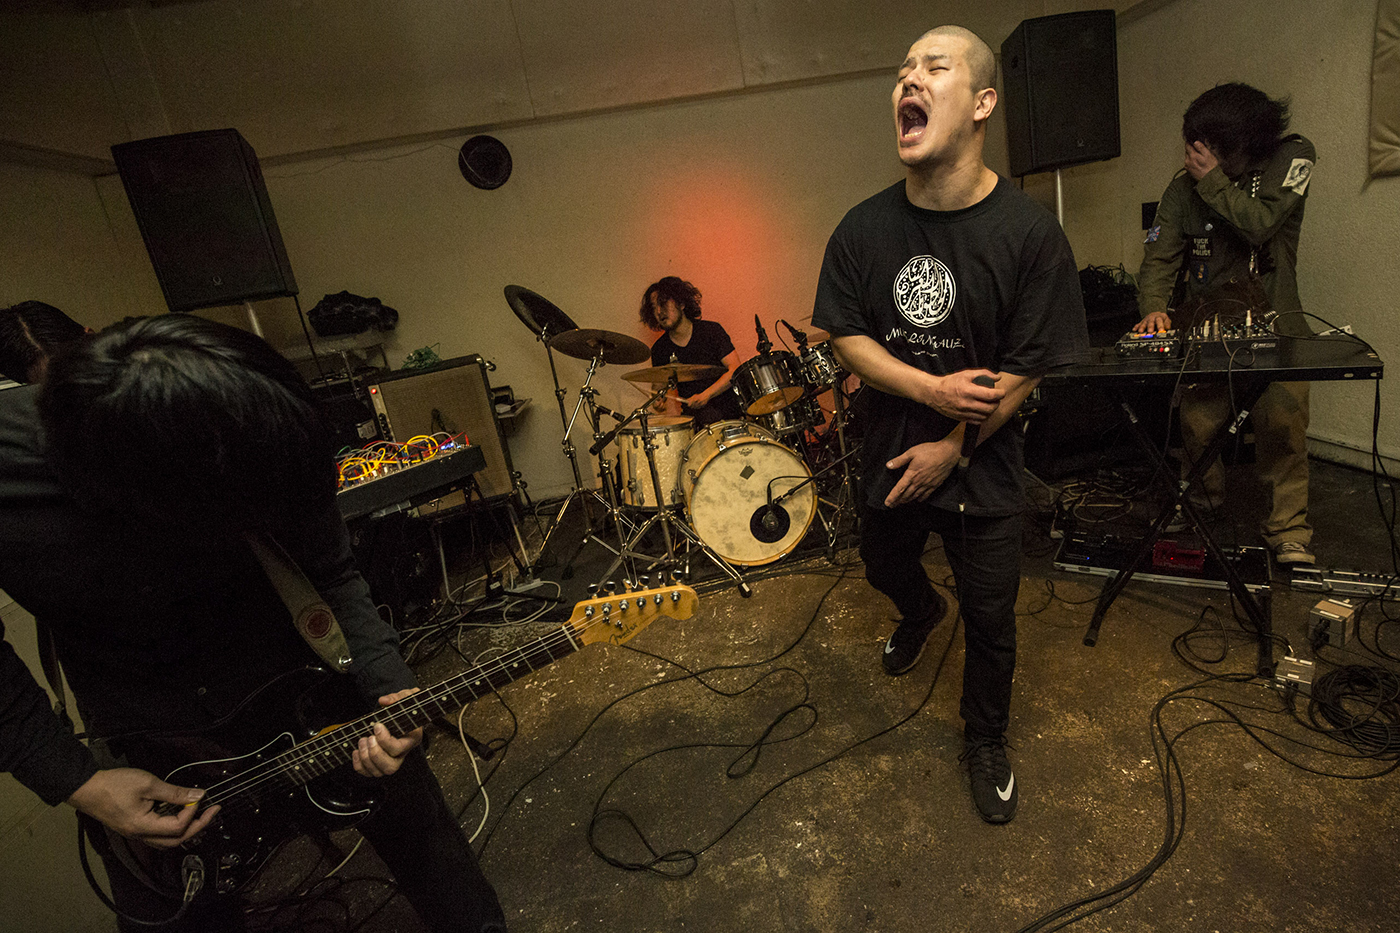
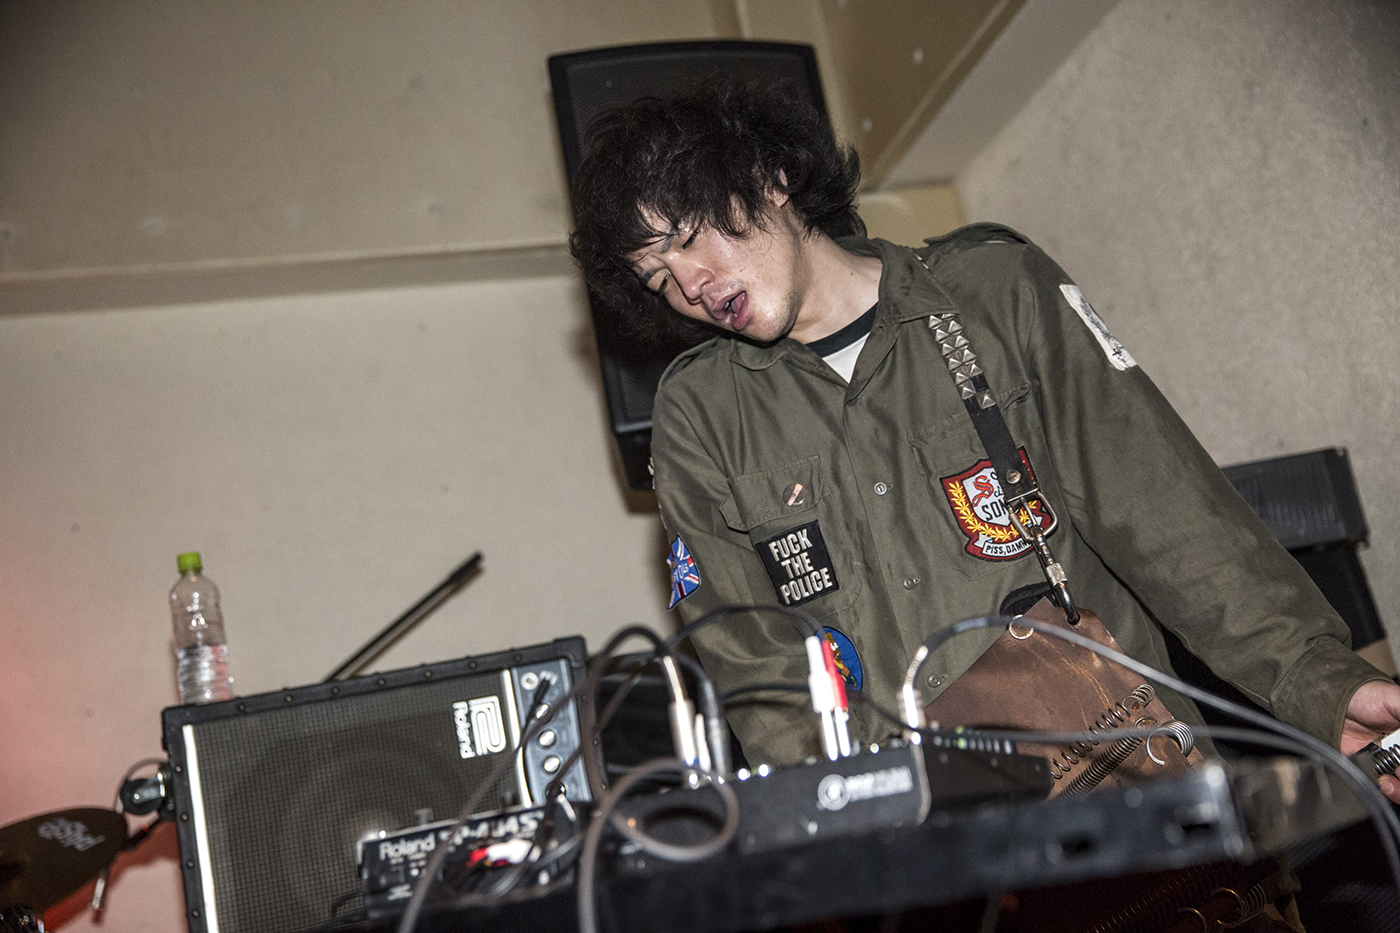
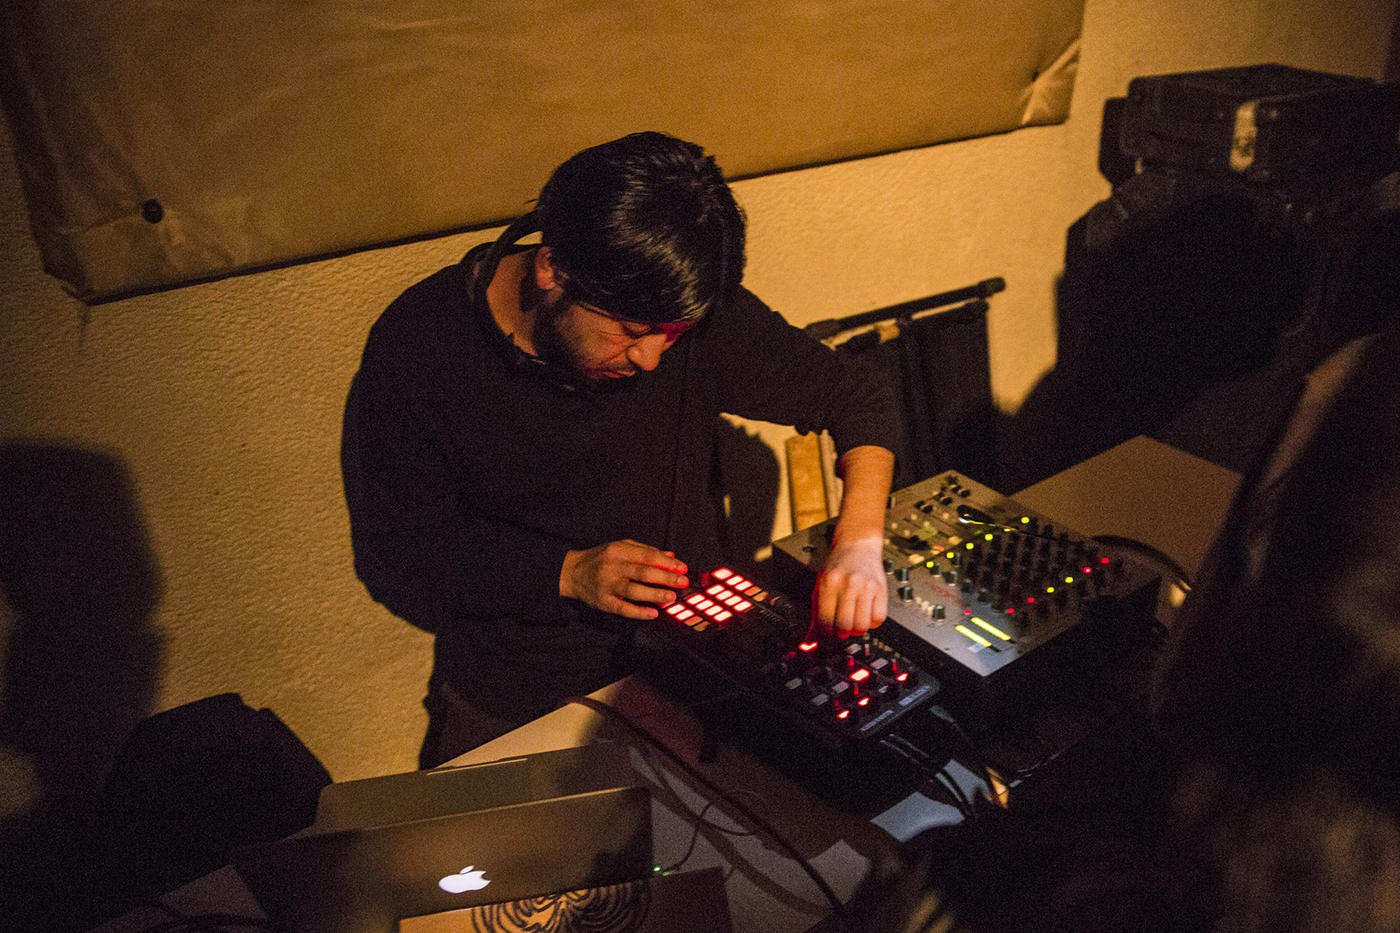
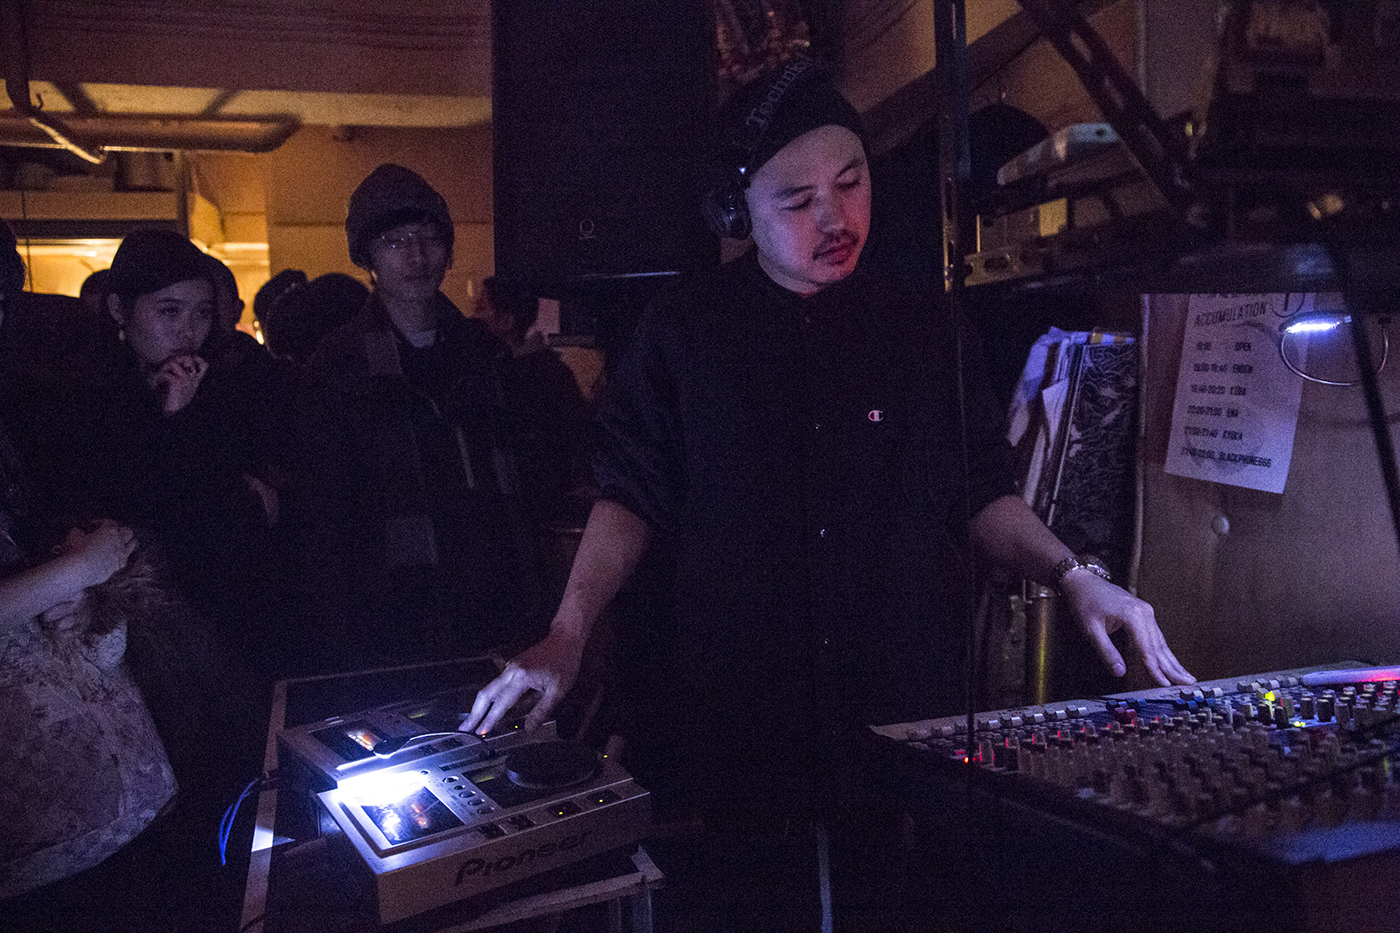
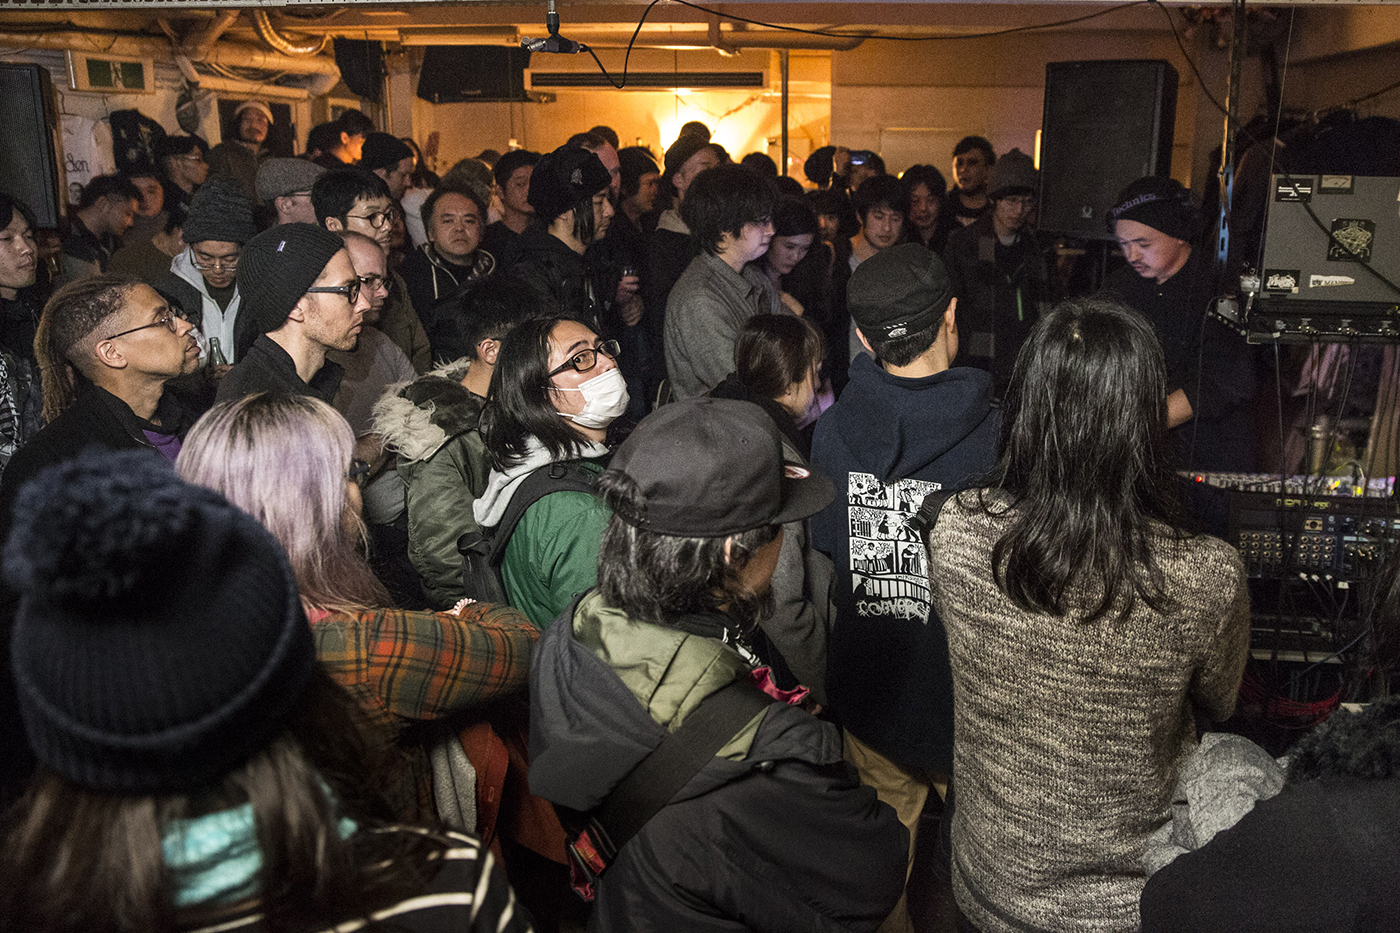
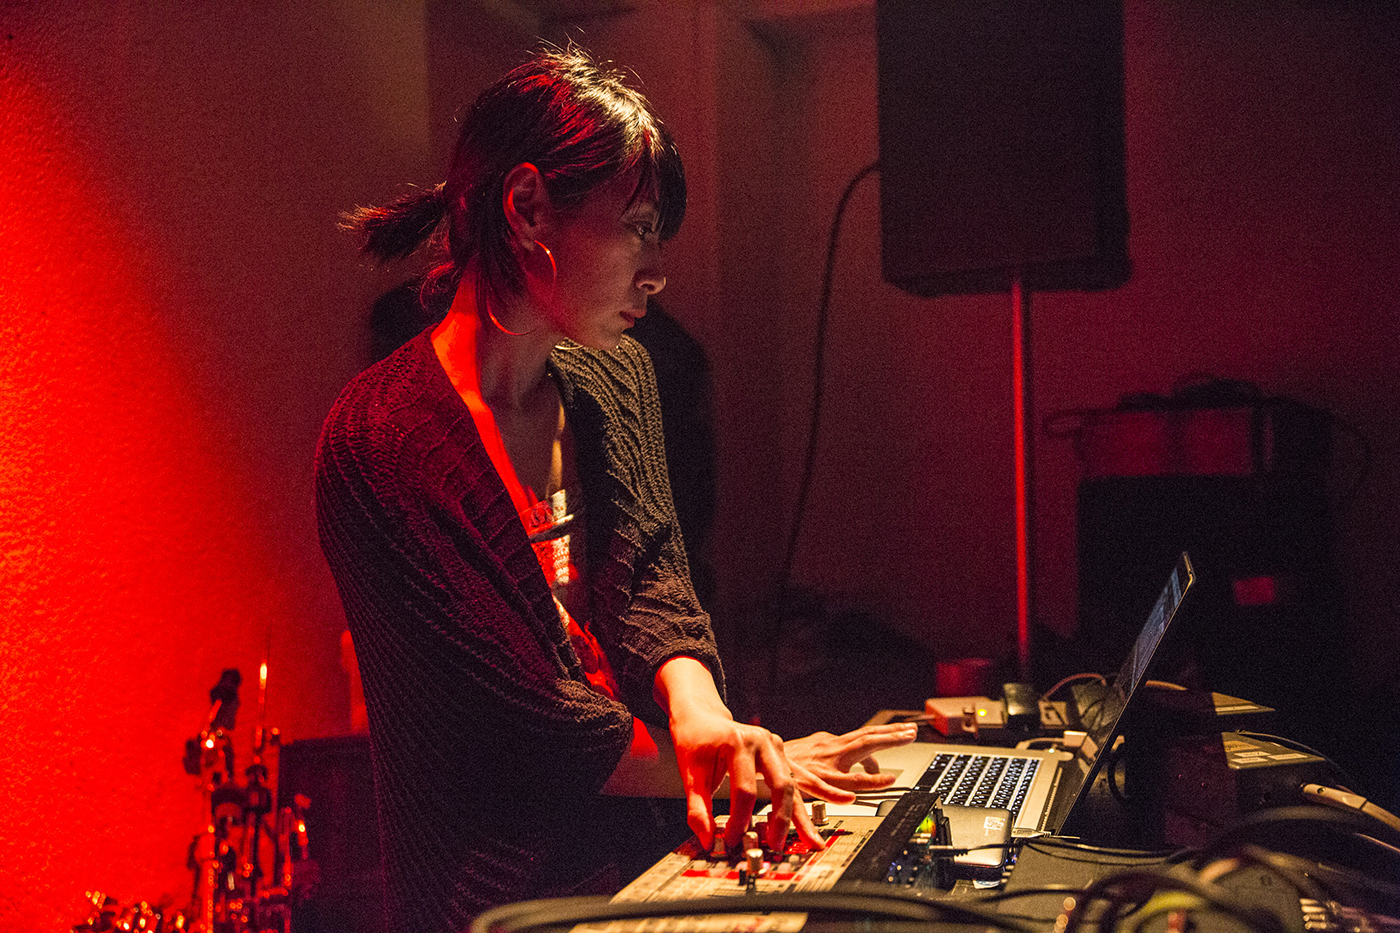
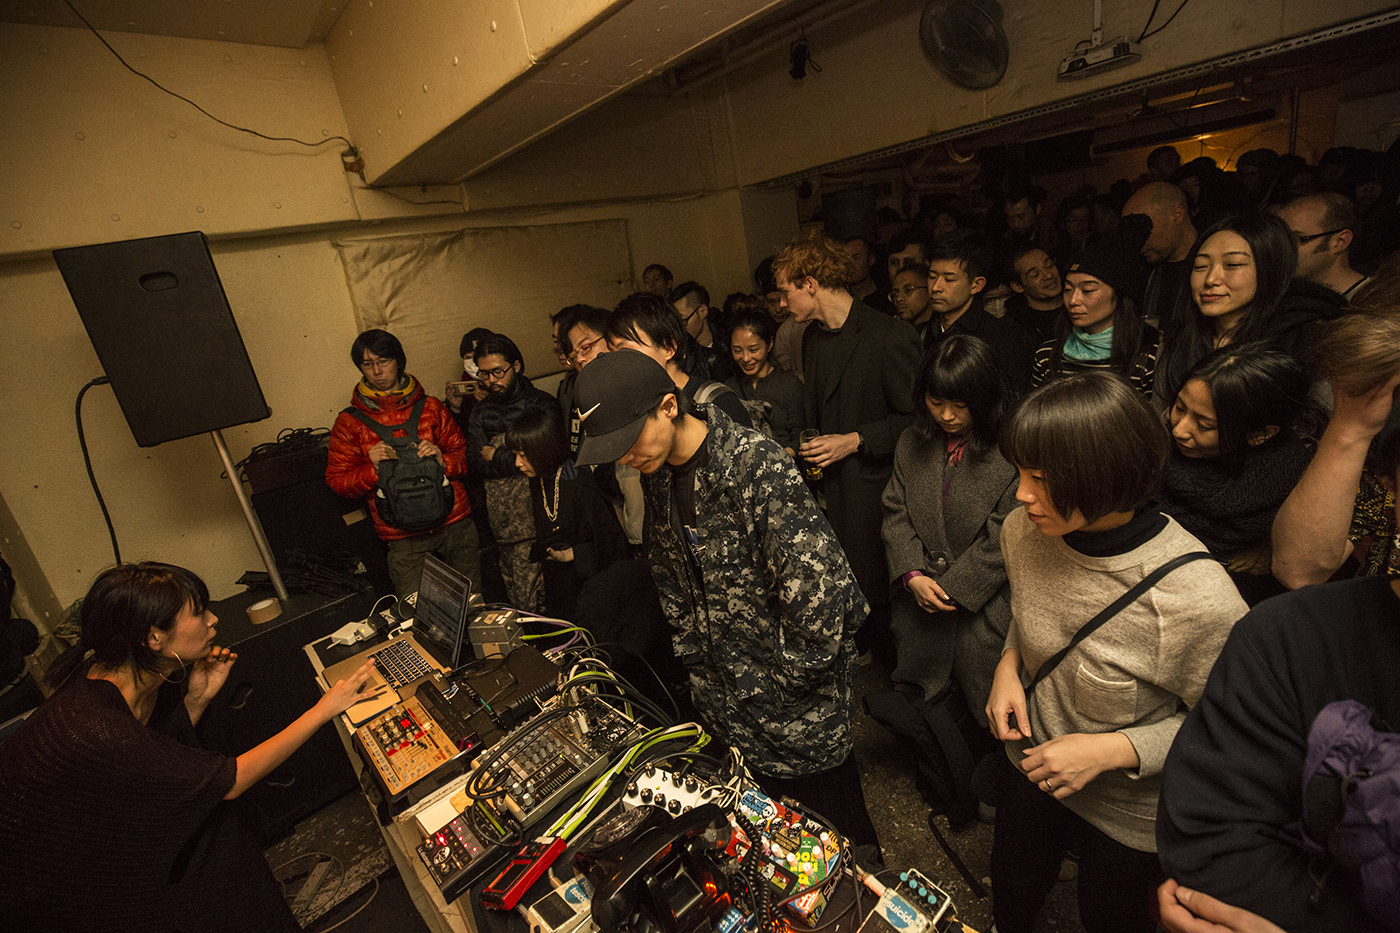
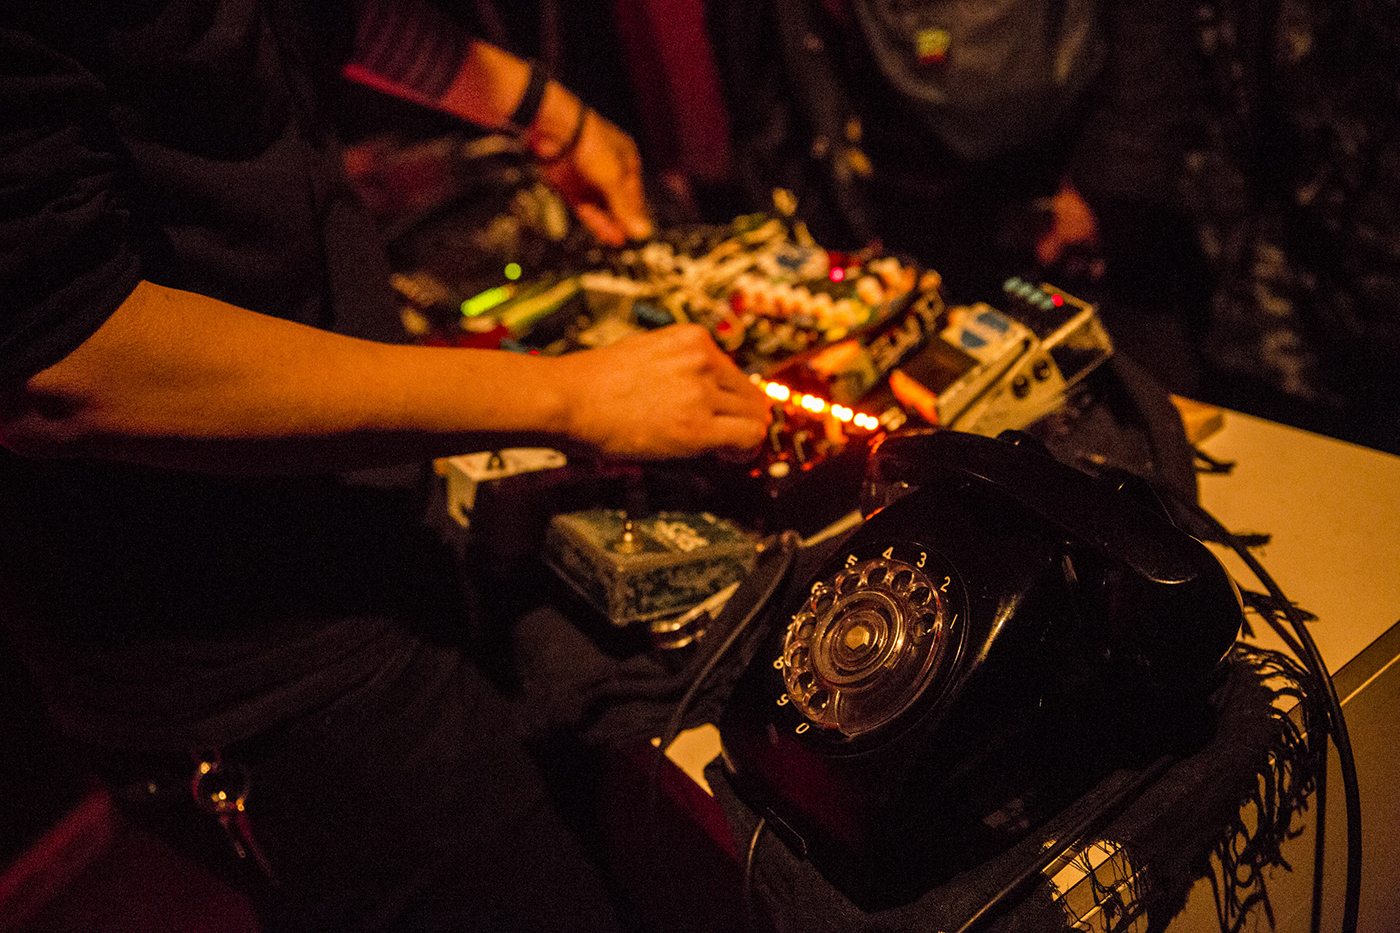
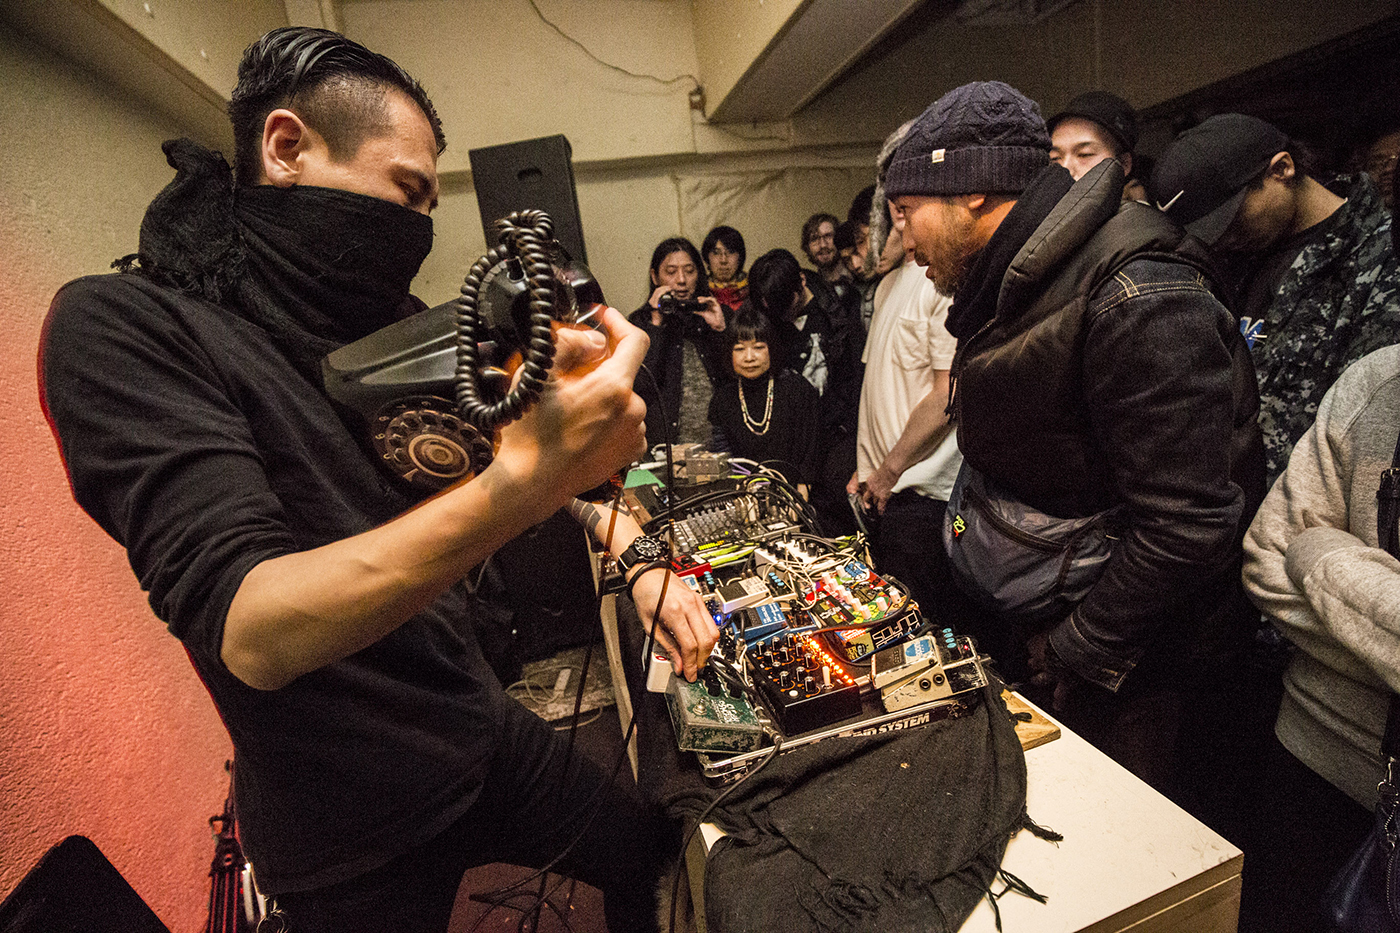
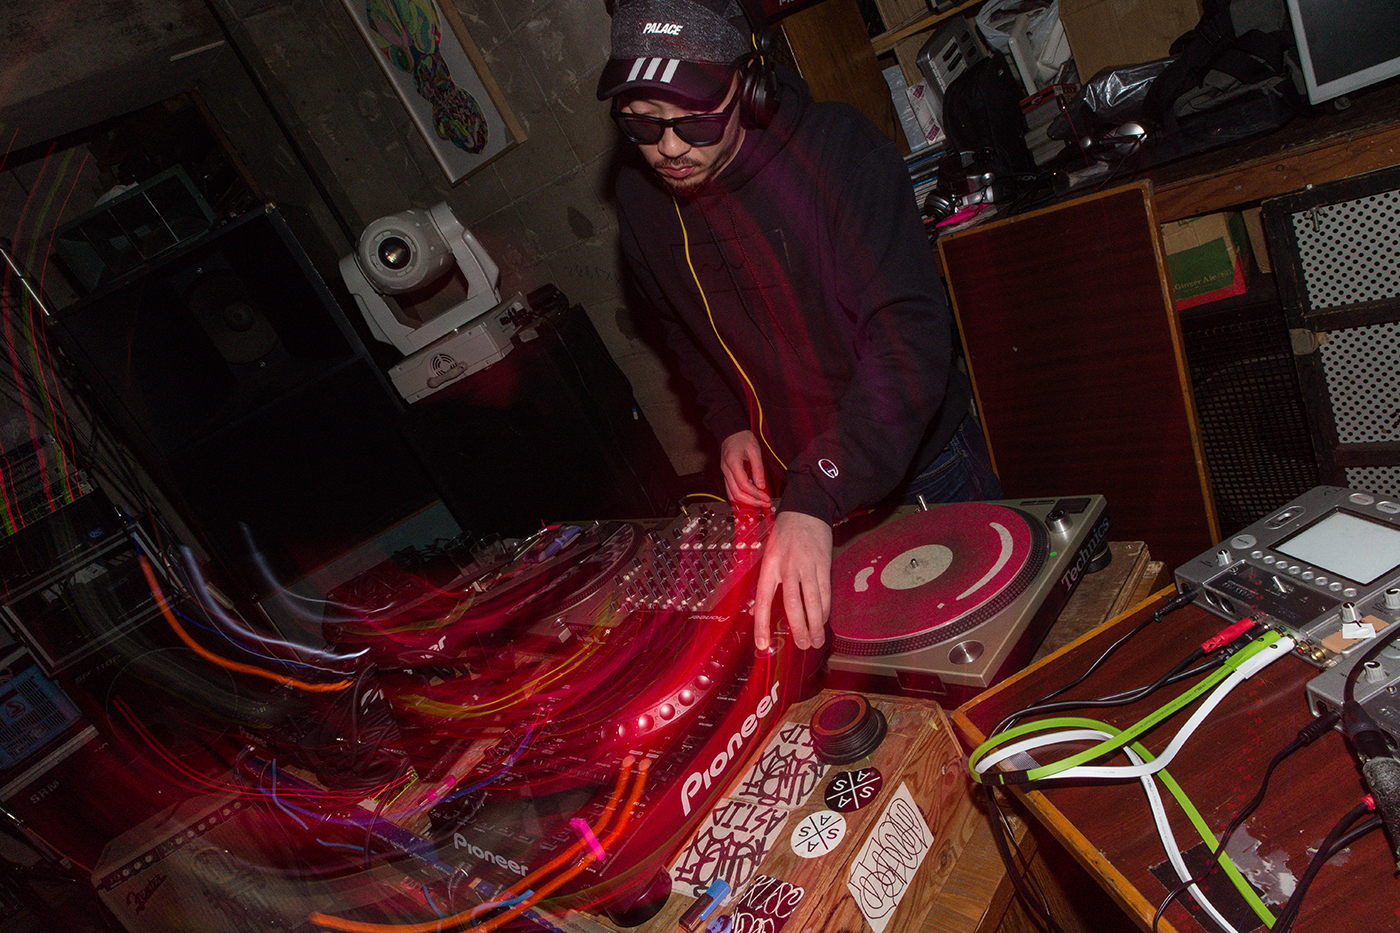
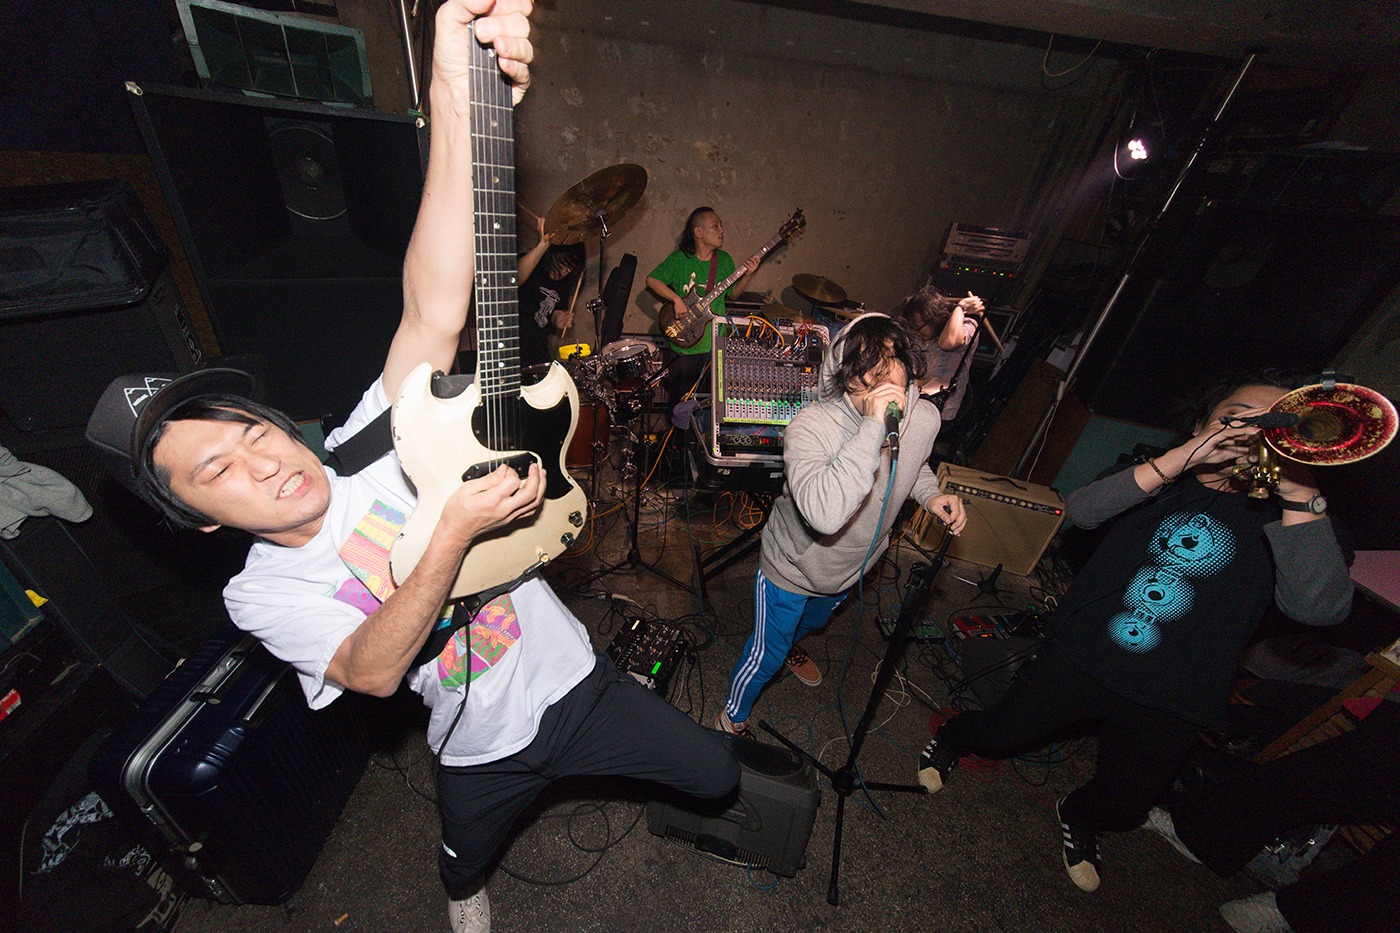
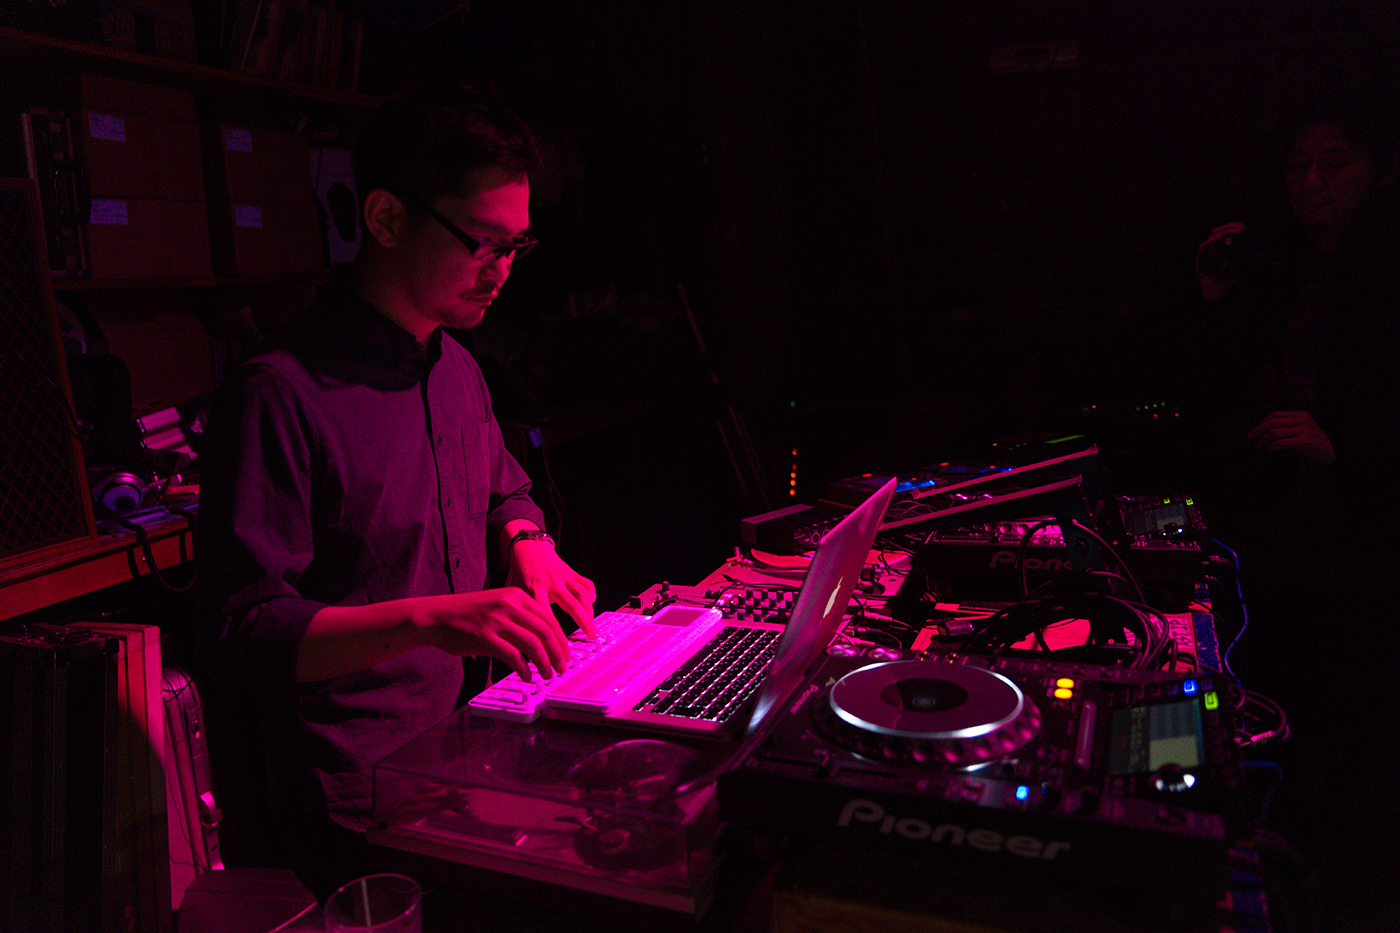
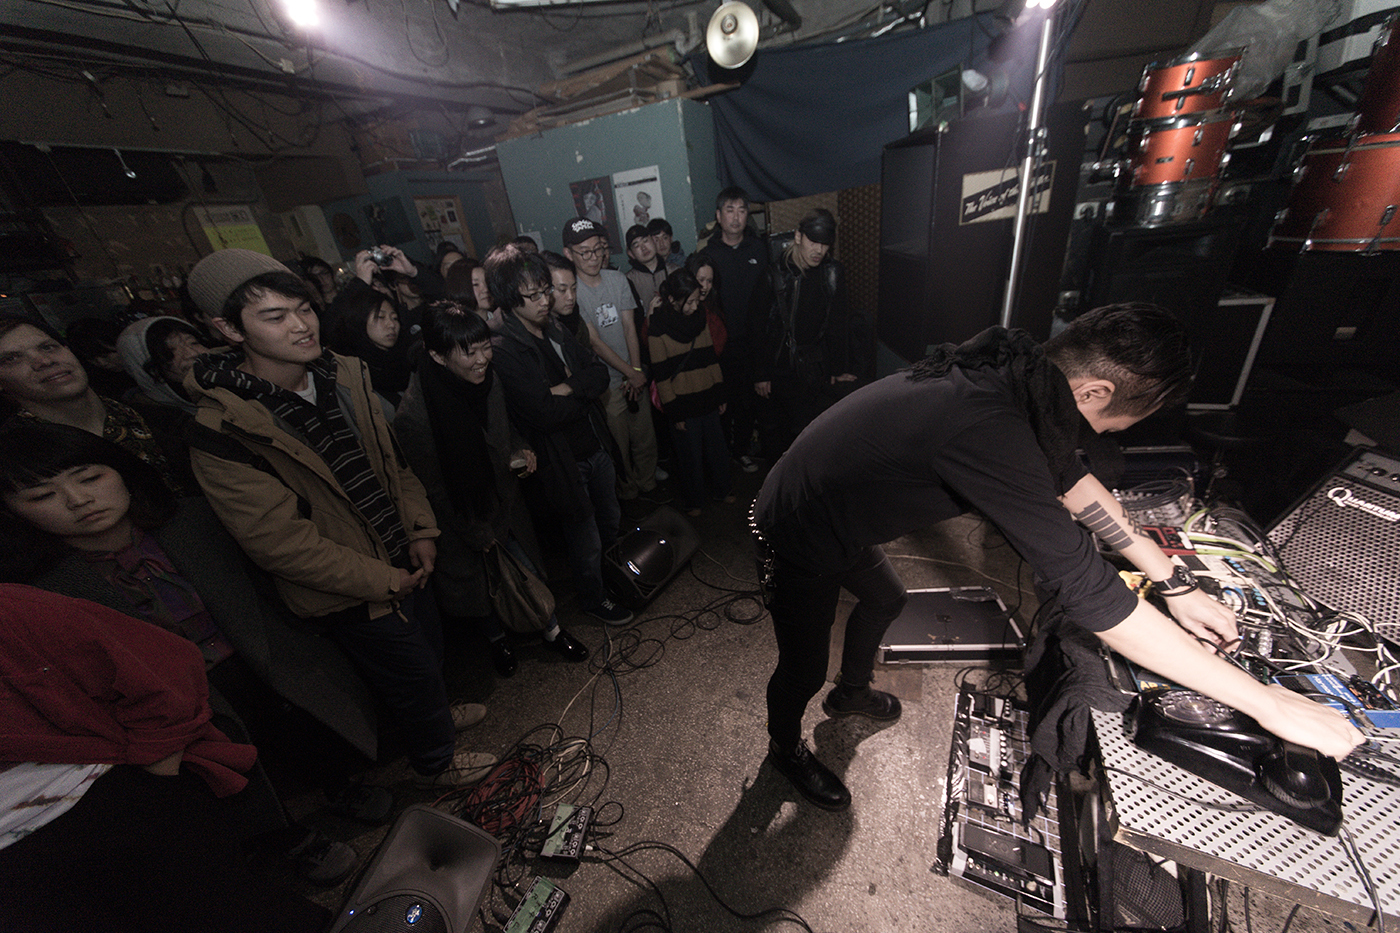
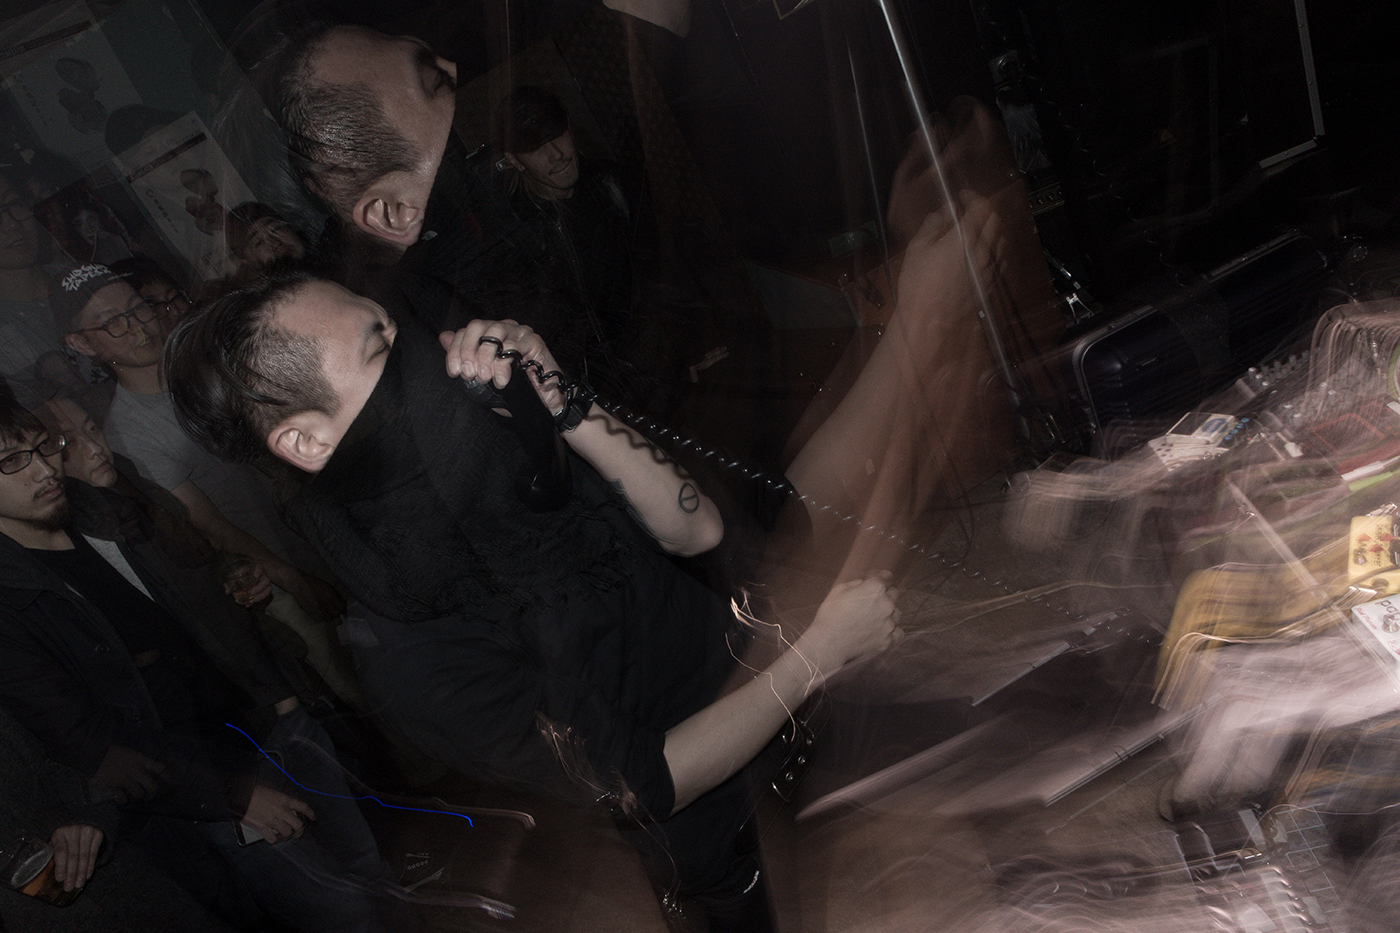
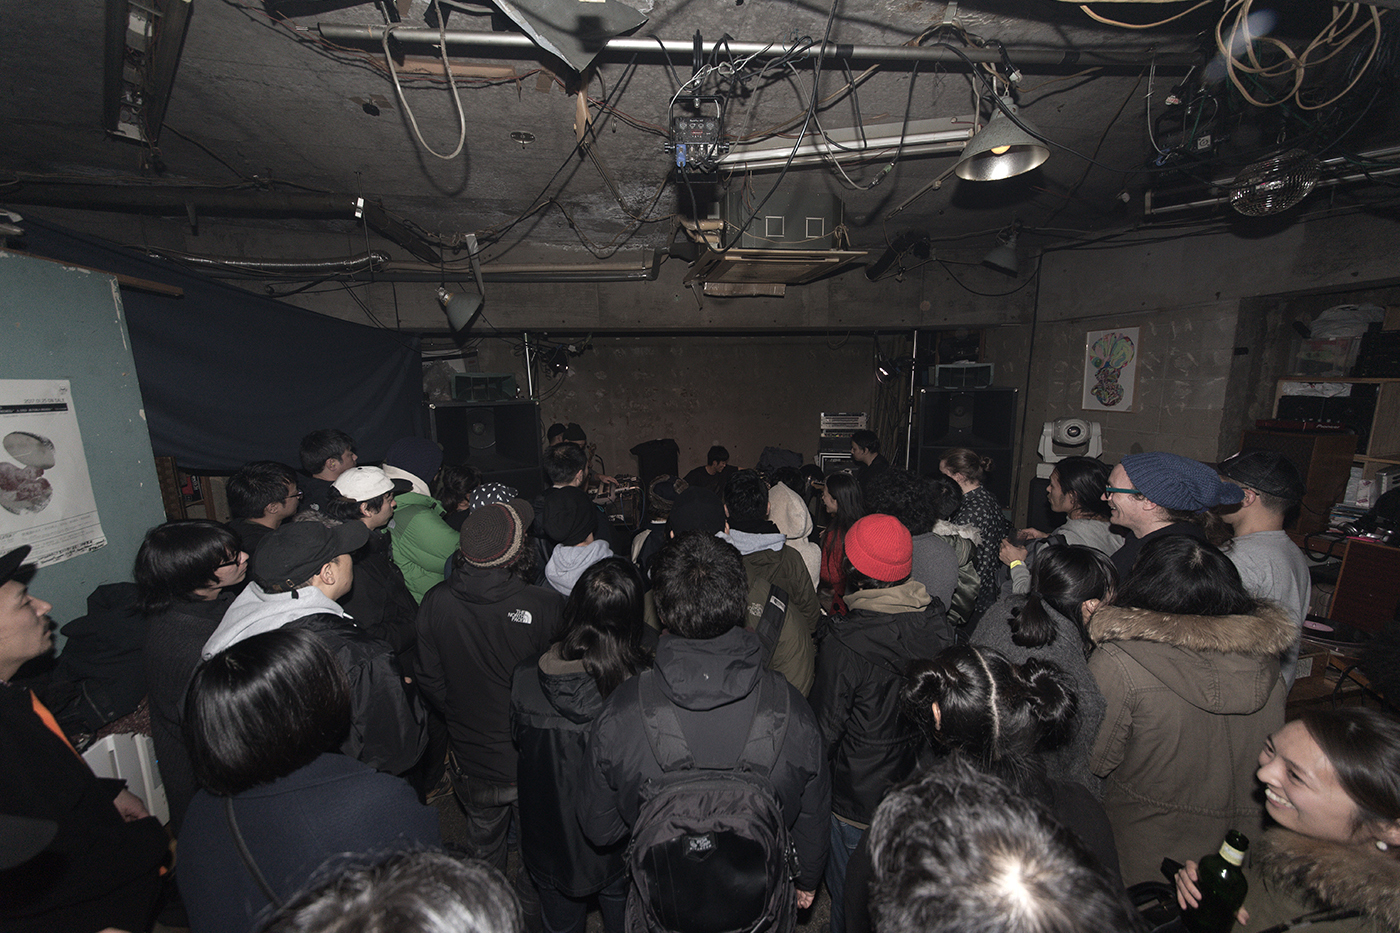
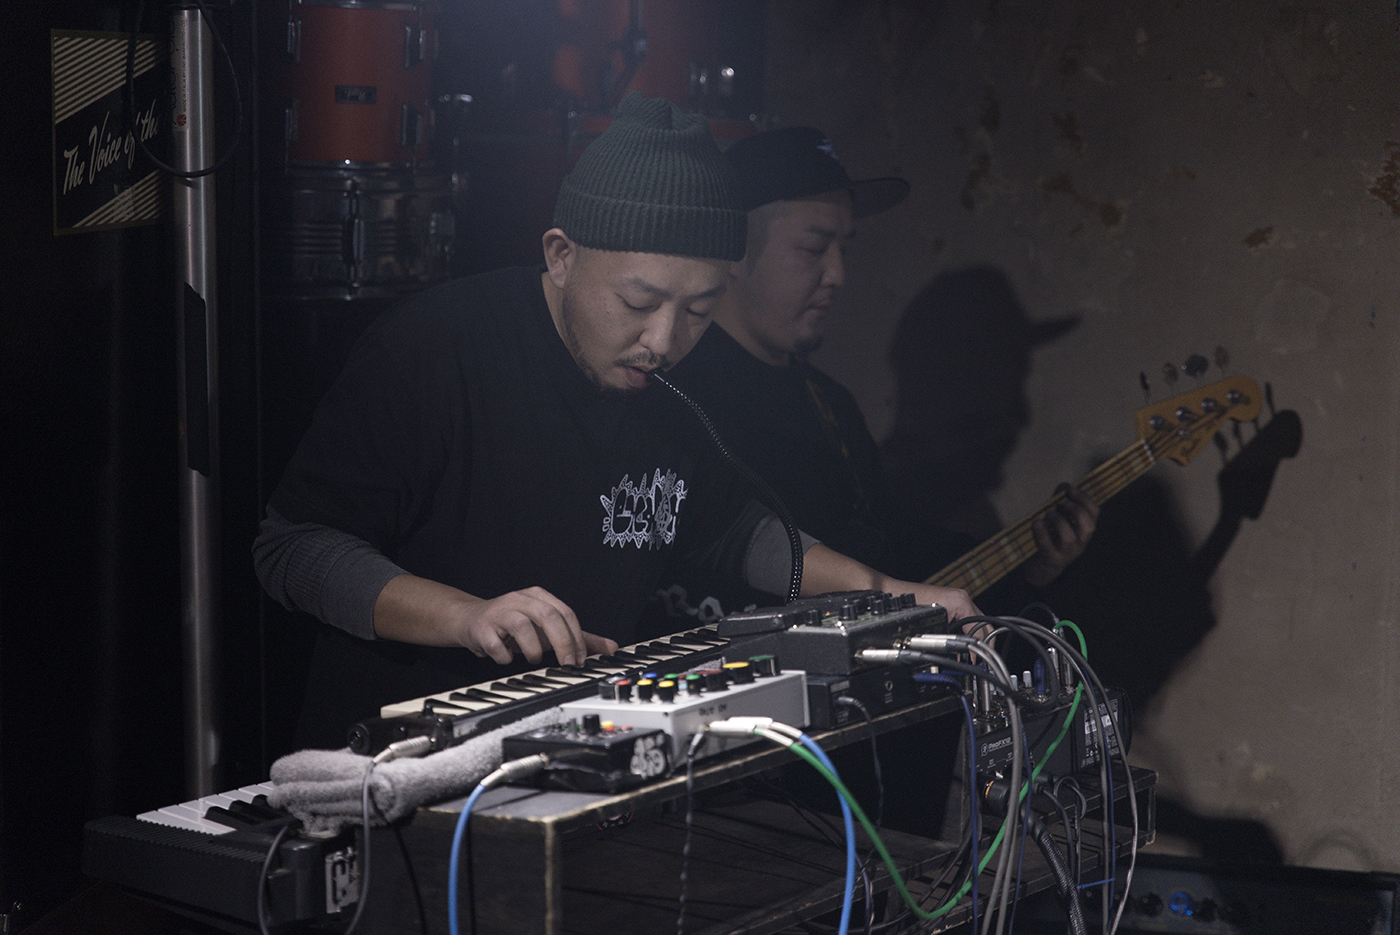
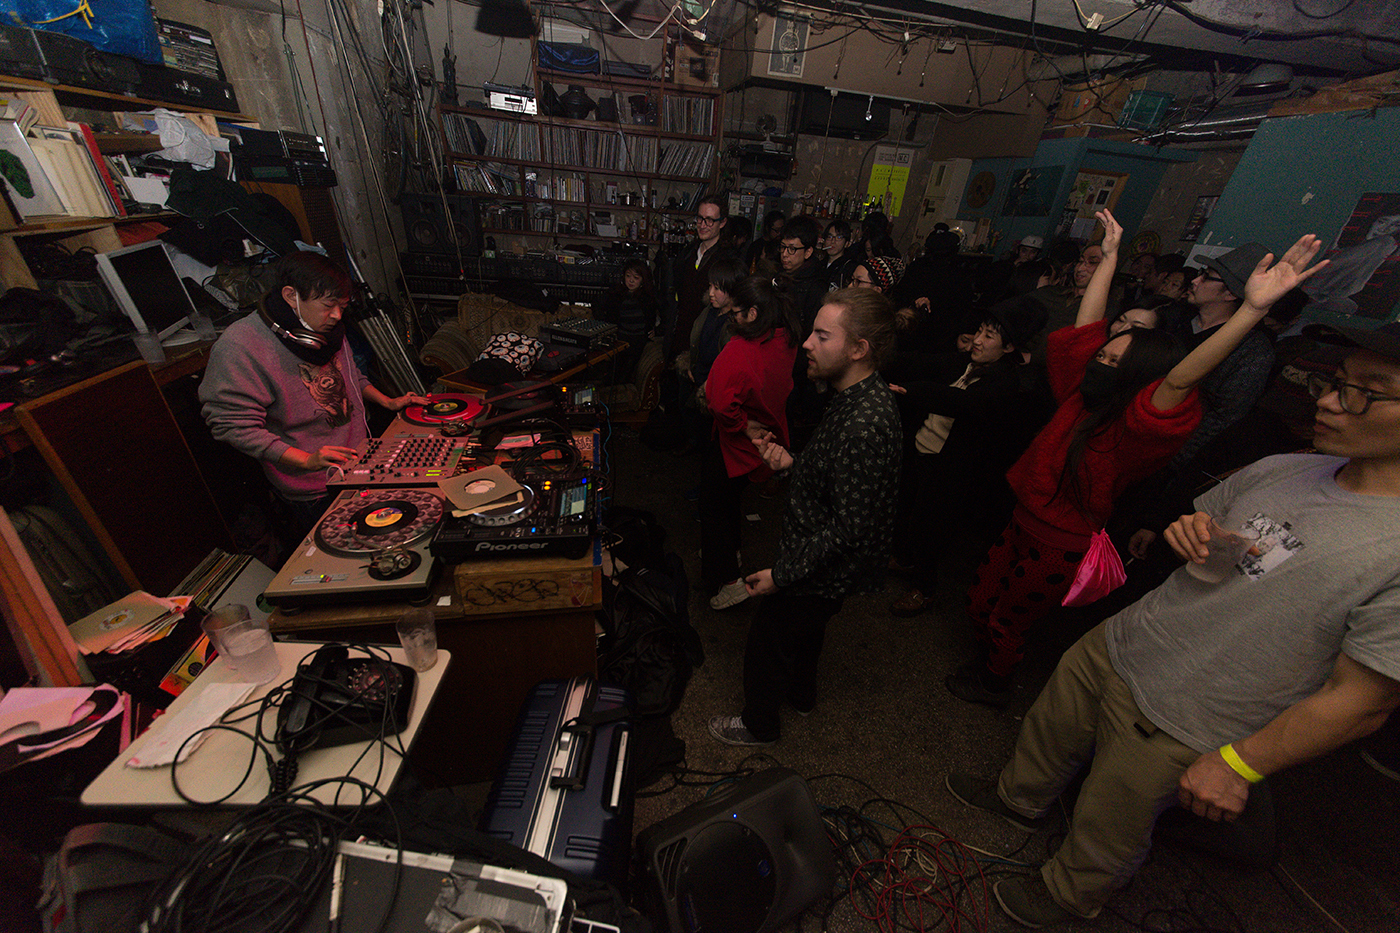
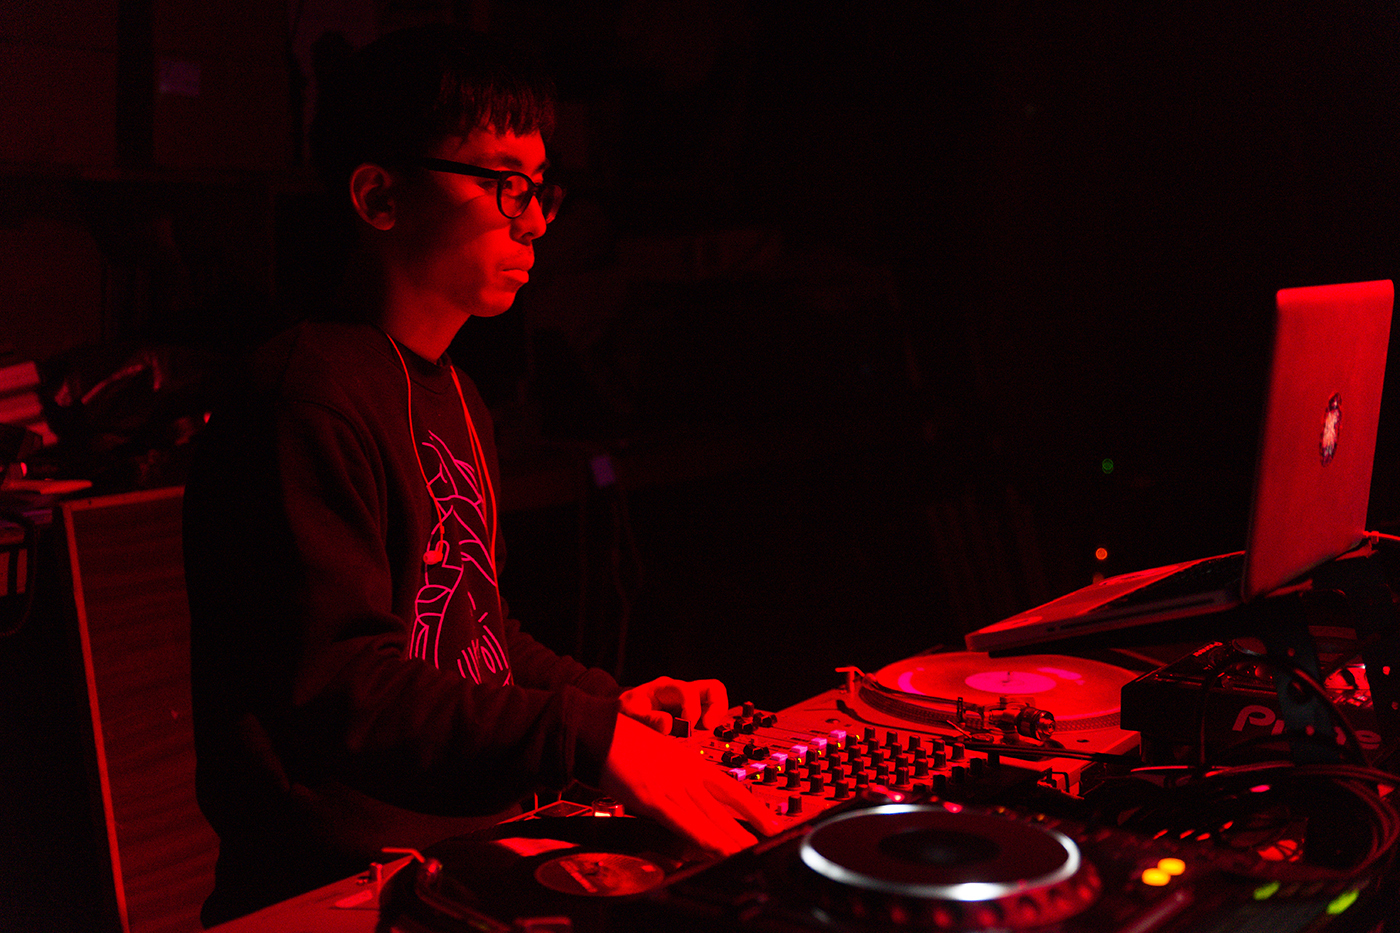
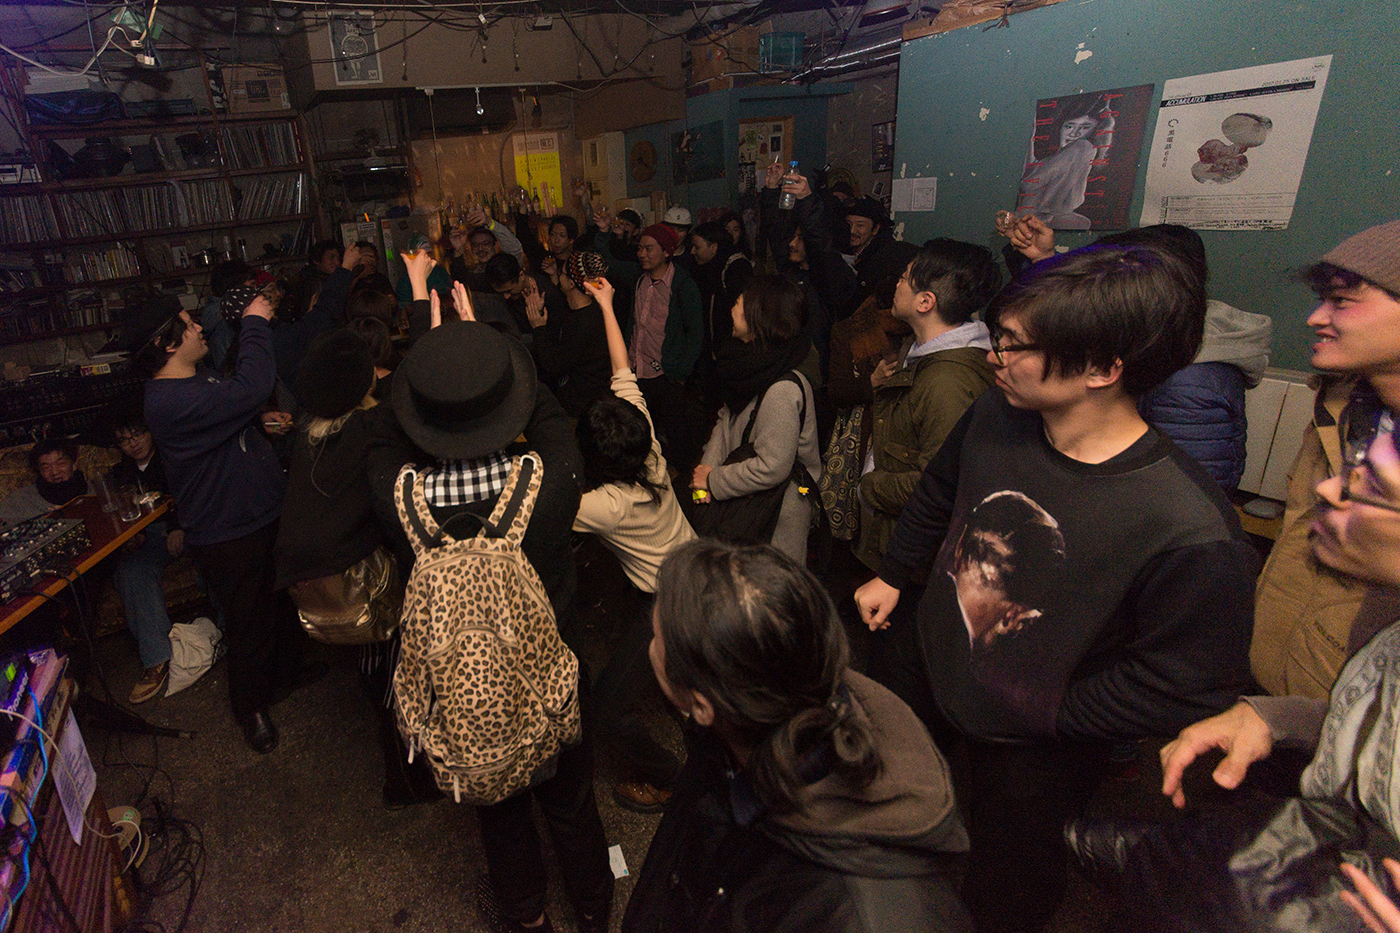
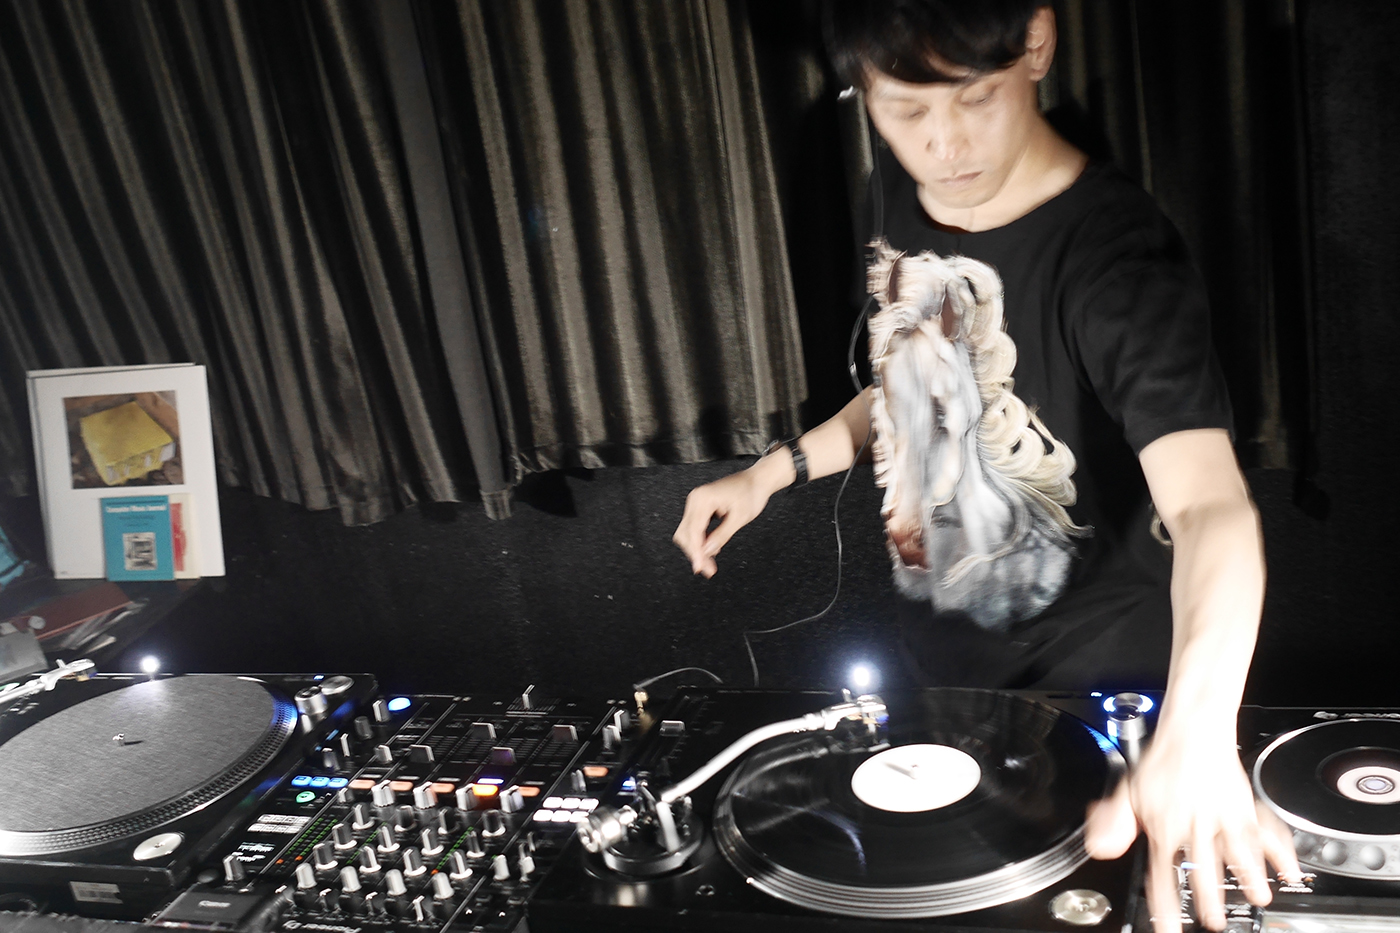
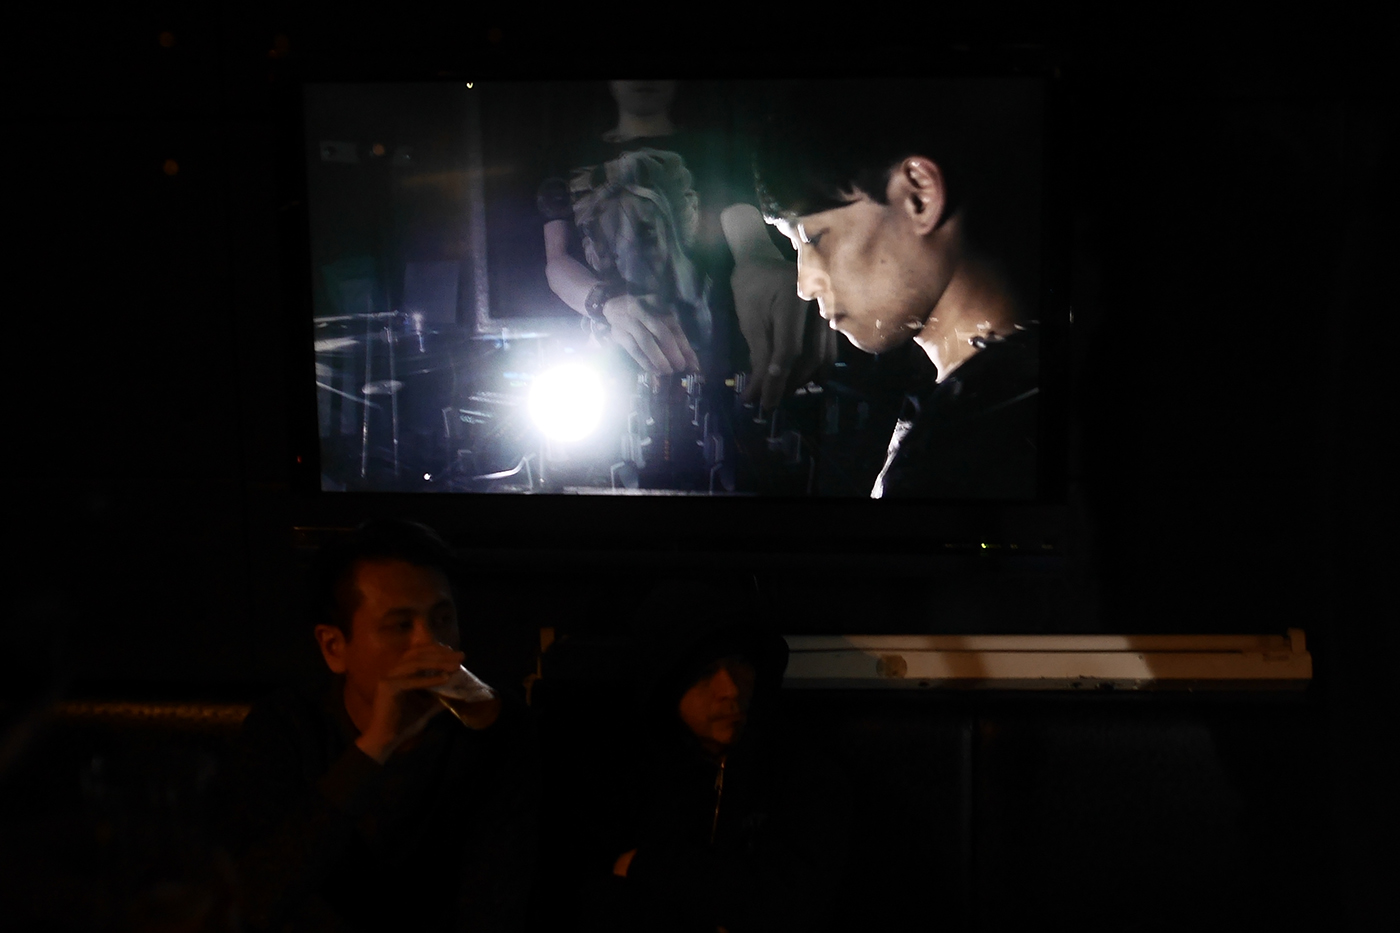
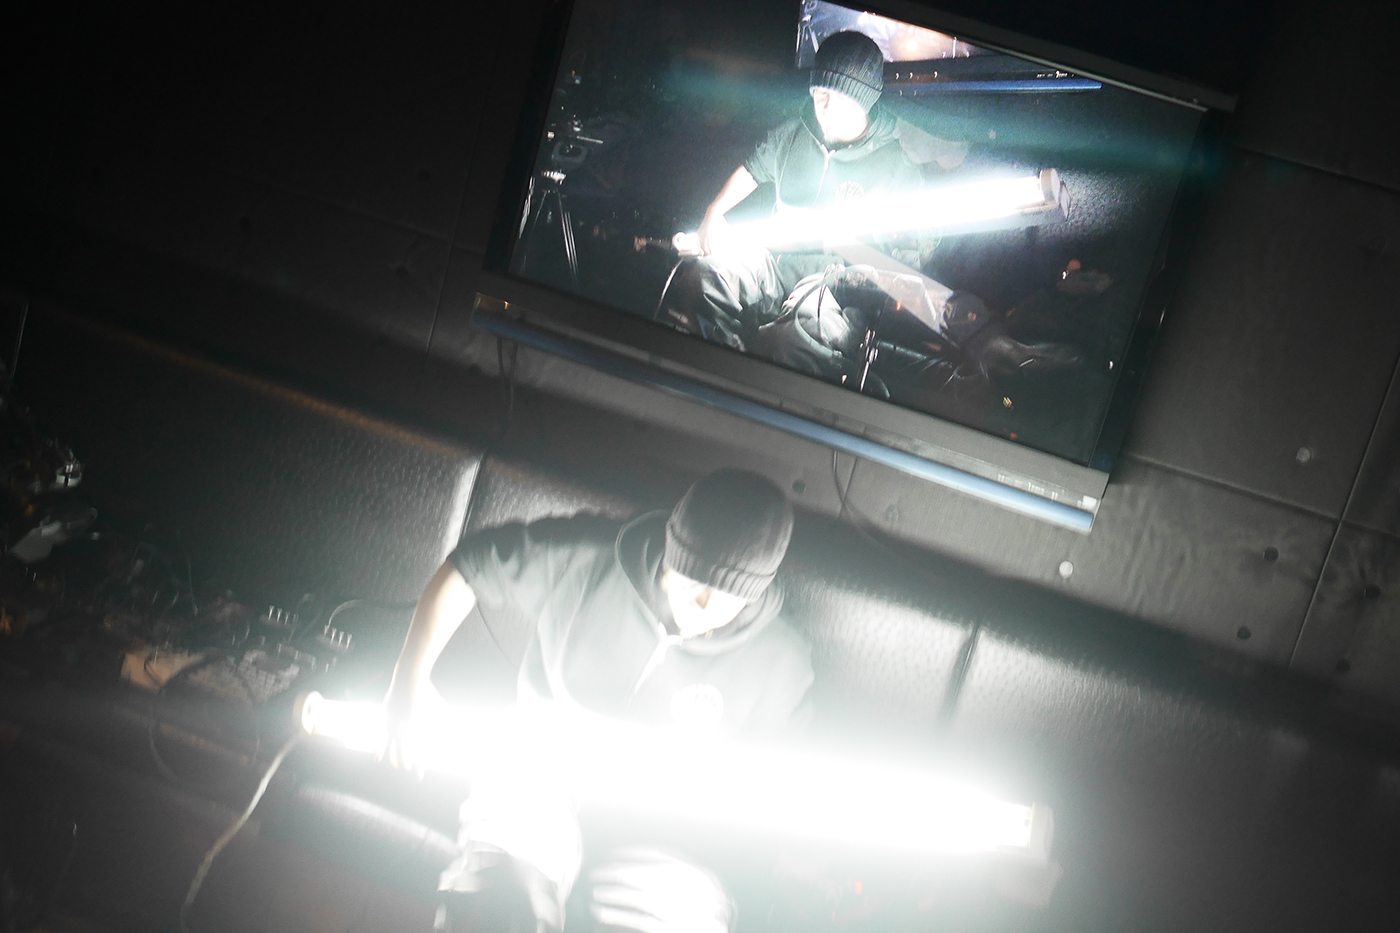
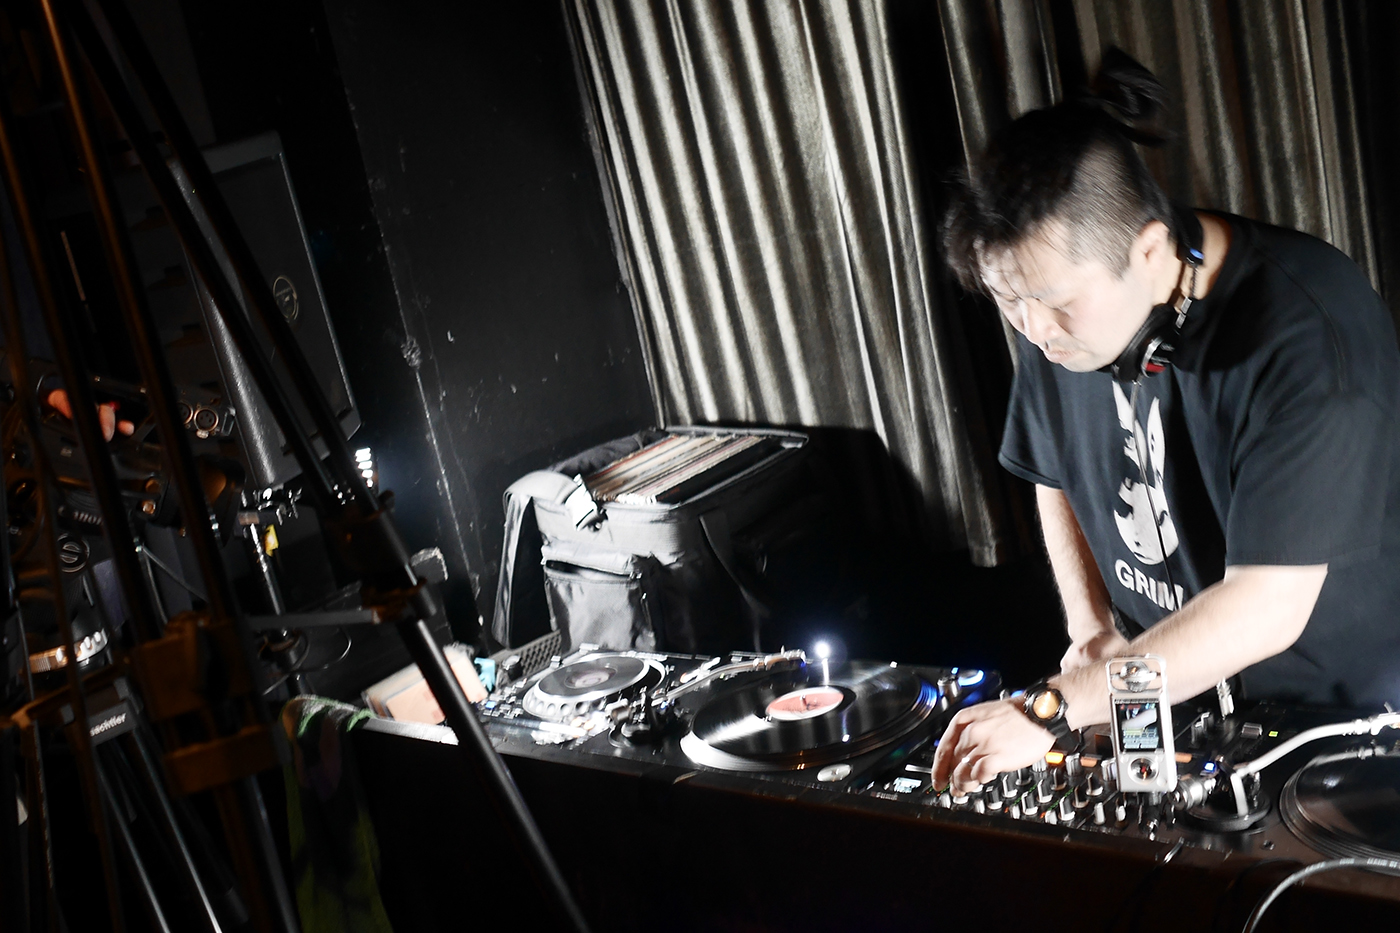
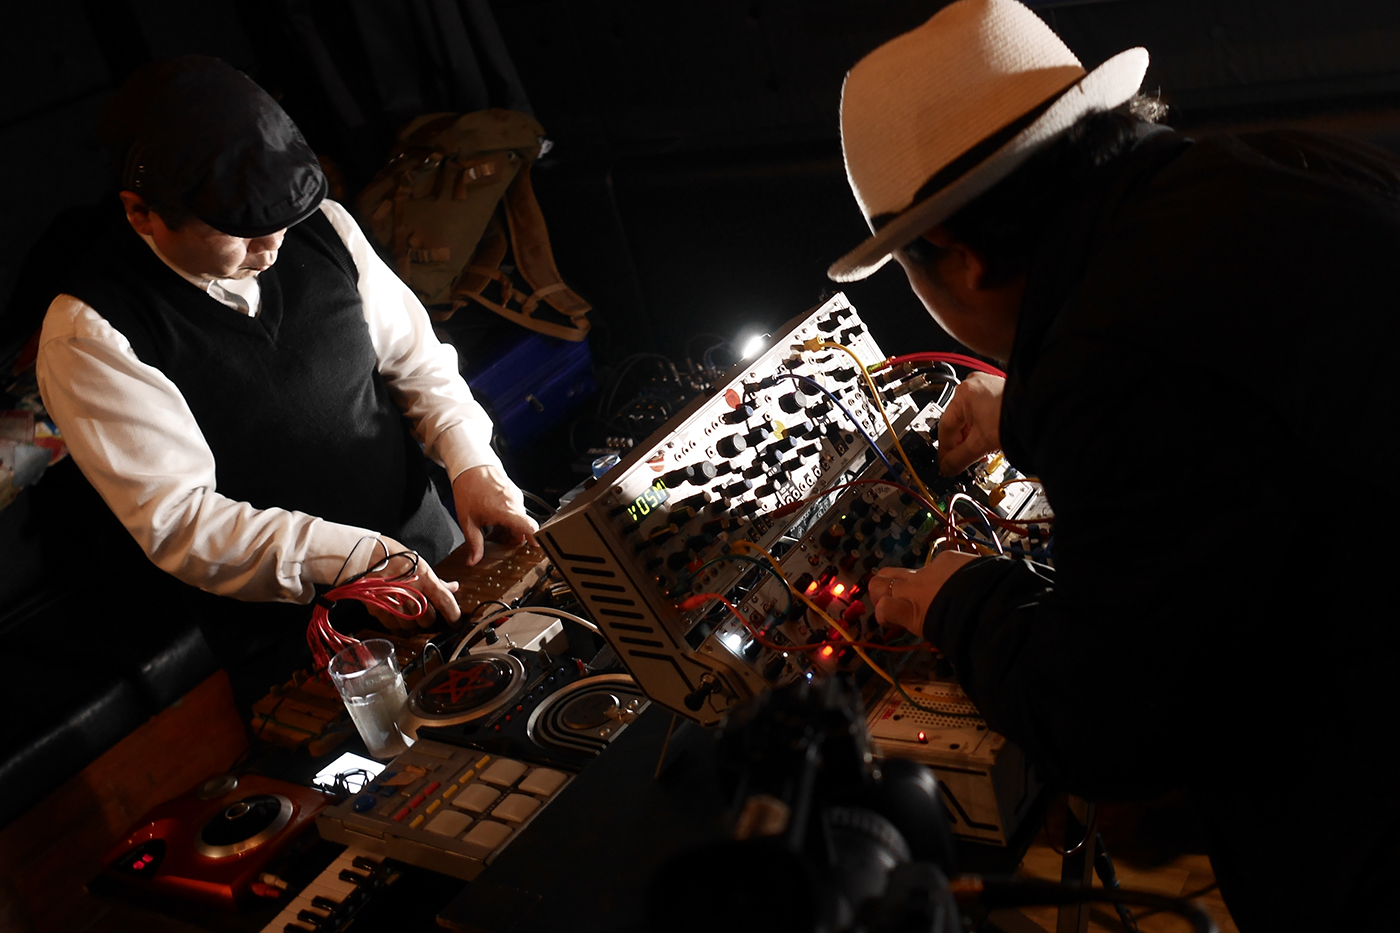
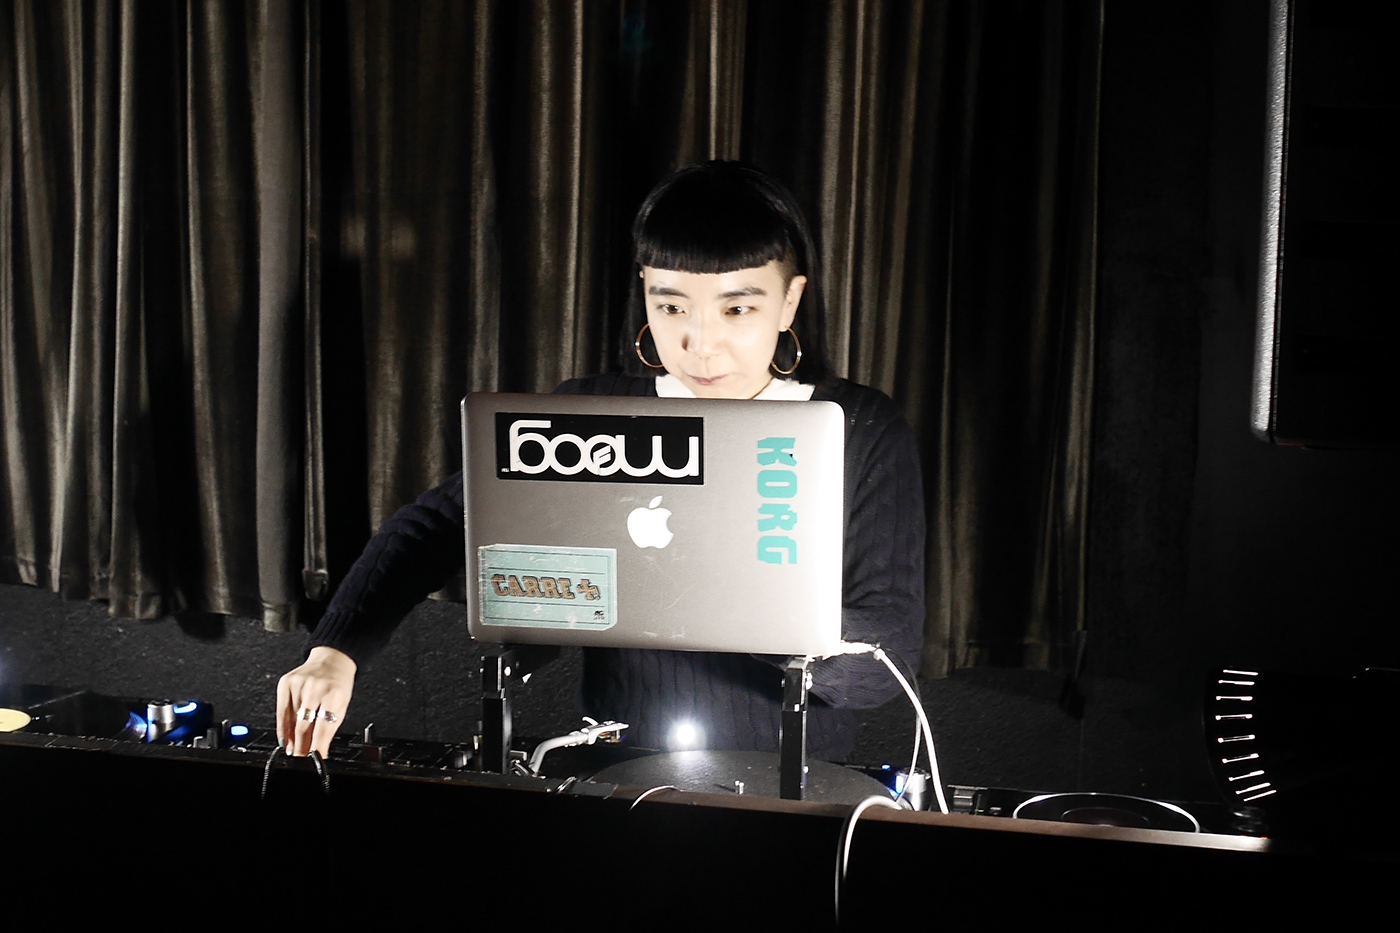
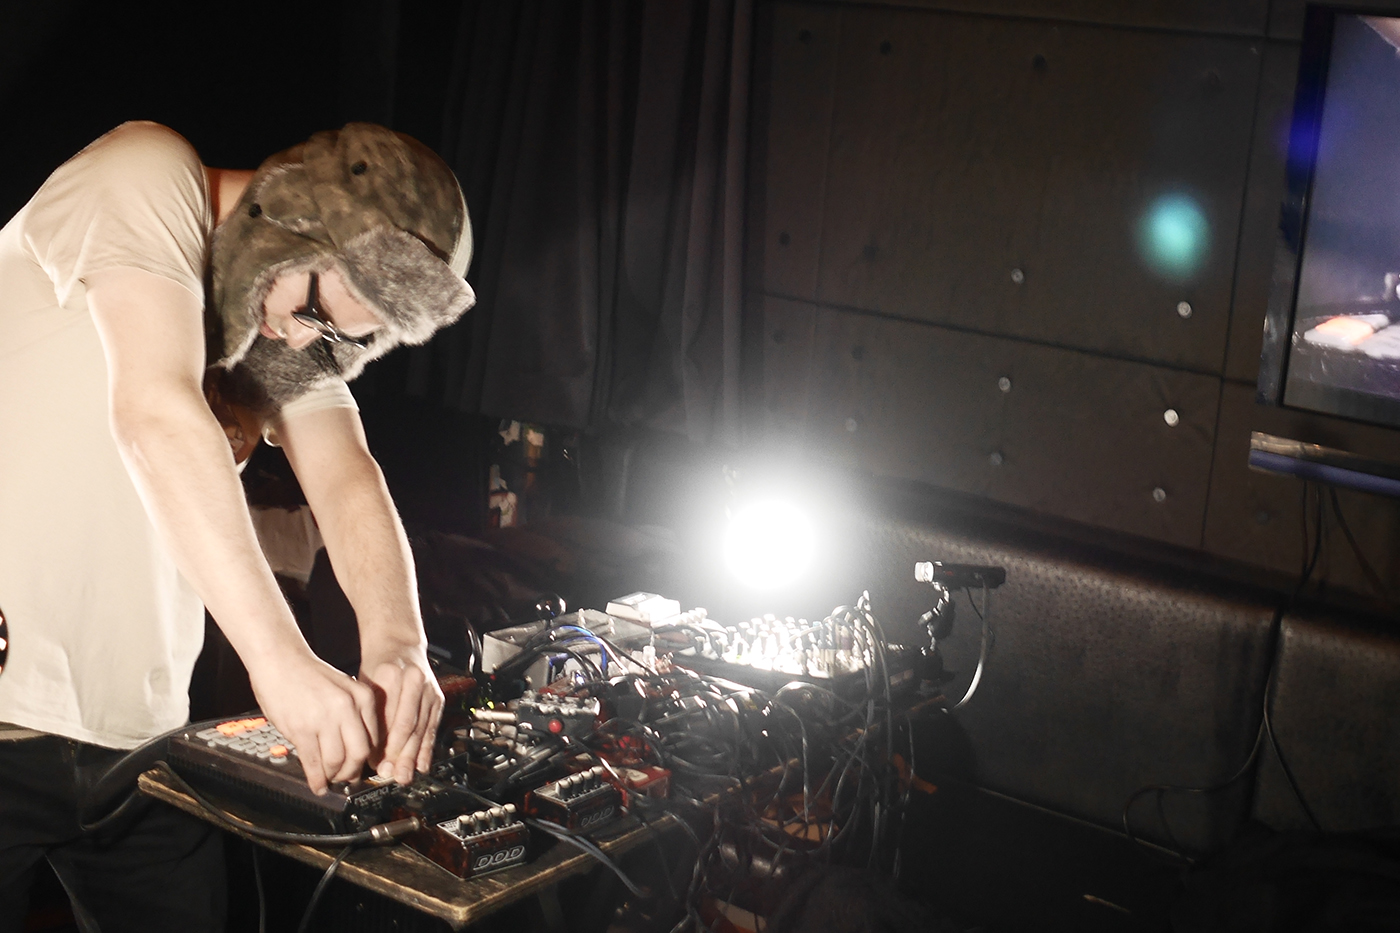
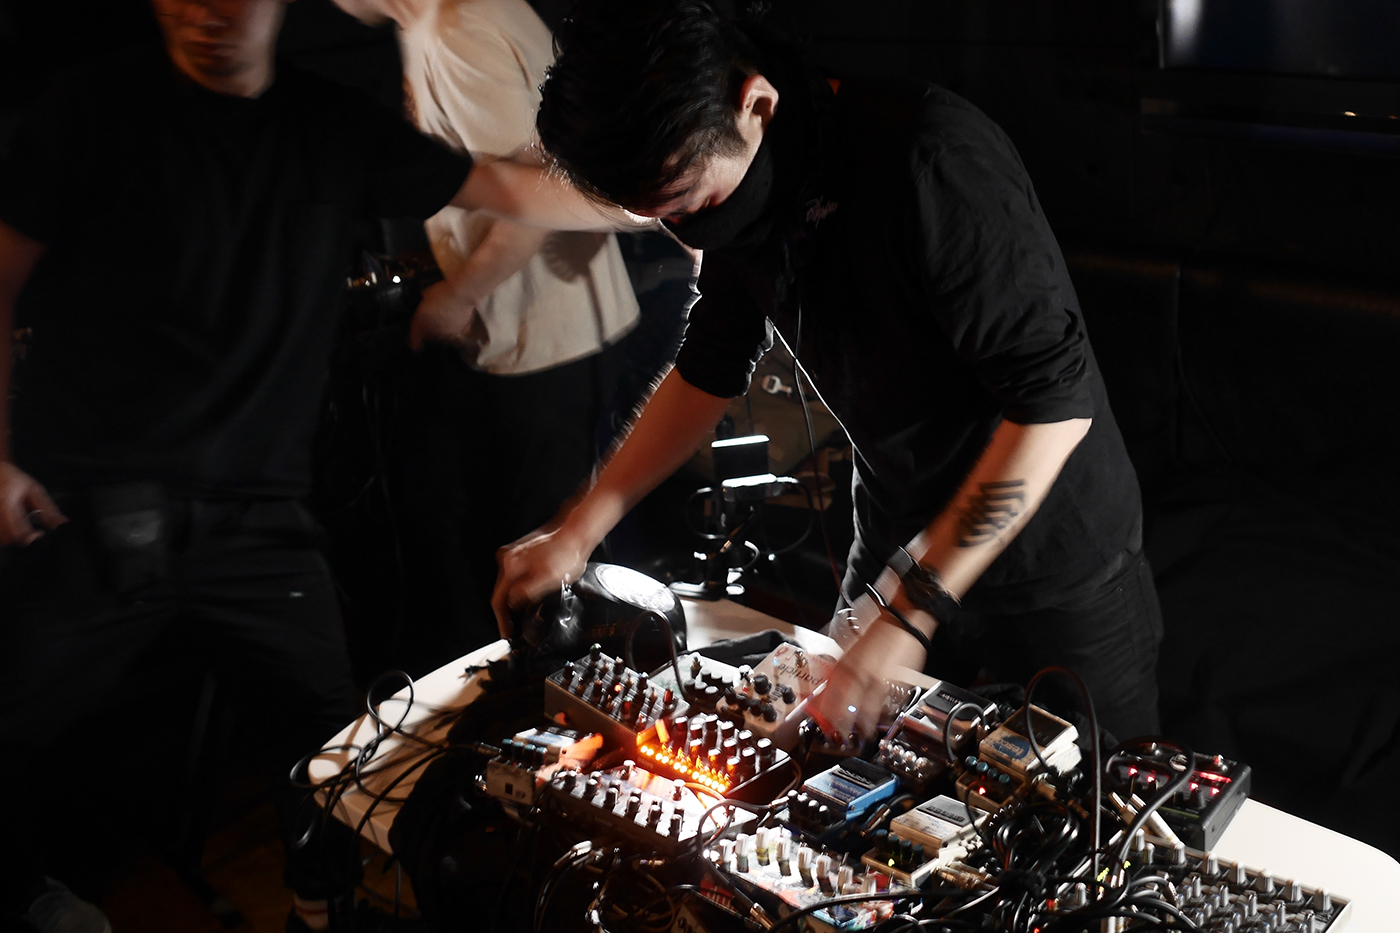
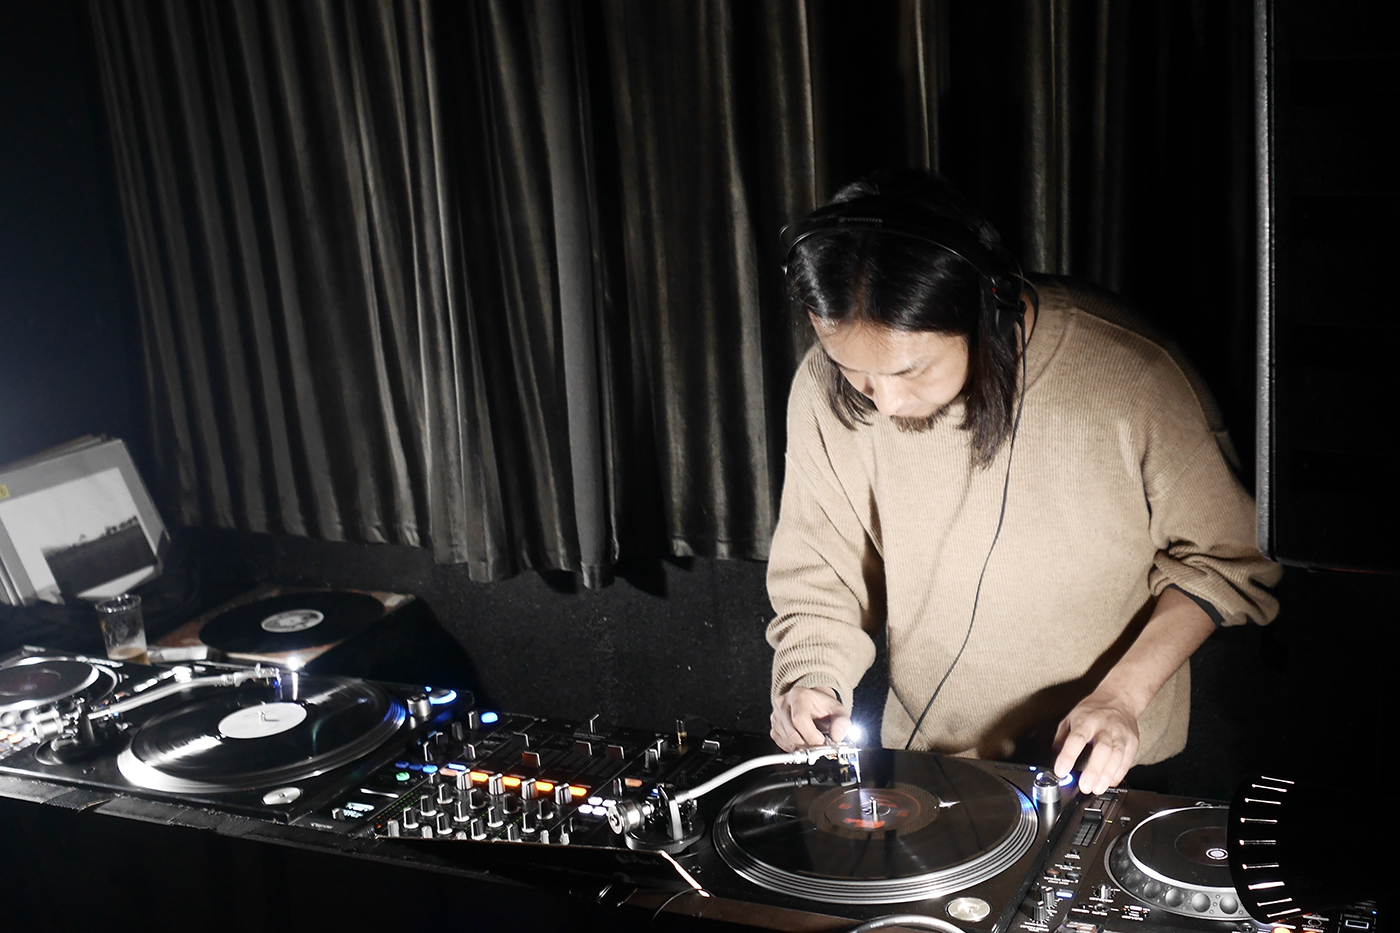
Accumulation 1 ☞ details Photo by Ryo Fujishima Accumulation 2 ☞ details Photo by Katsuki Mitsuhashit Accumulation 3 ☞ details